PicoRC
Osborne 1 PicoRC Installation: Early Version (Side Latch)
| Purchase Link | Official Discord | Main Page |
Kit Assembly
Installation
- 🚨🚨 This guide is for EARLY MODEL (SIDE LATCH), CLICK ME FOR LATE MODEL (TOP LATCH) 🚨🚨
- 🚨🚨 This guide is for EARLY MODEL (SIDE LATCH), CLICK ME FOR LATE MODEL (TOP LATCH) 🚨🚨
- 🚨🚨 This guide is for EARLY MODEL (SIDE LATCH), CLICK ME FOR LATE MODEL (TOP LATCH) 🚨🚨
Some disassembly is needed, make sure to take plenty of photos along the way!
Take a photo one before removing a screw or unplugging a connector! It never hurts to have reference.
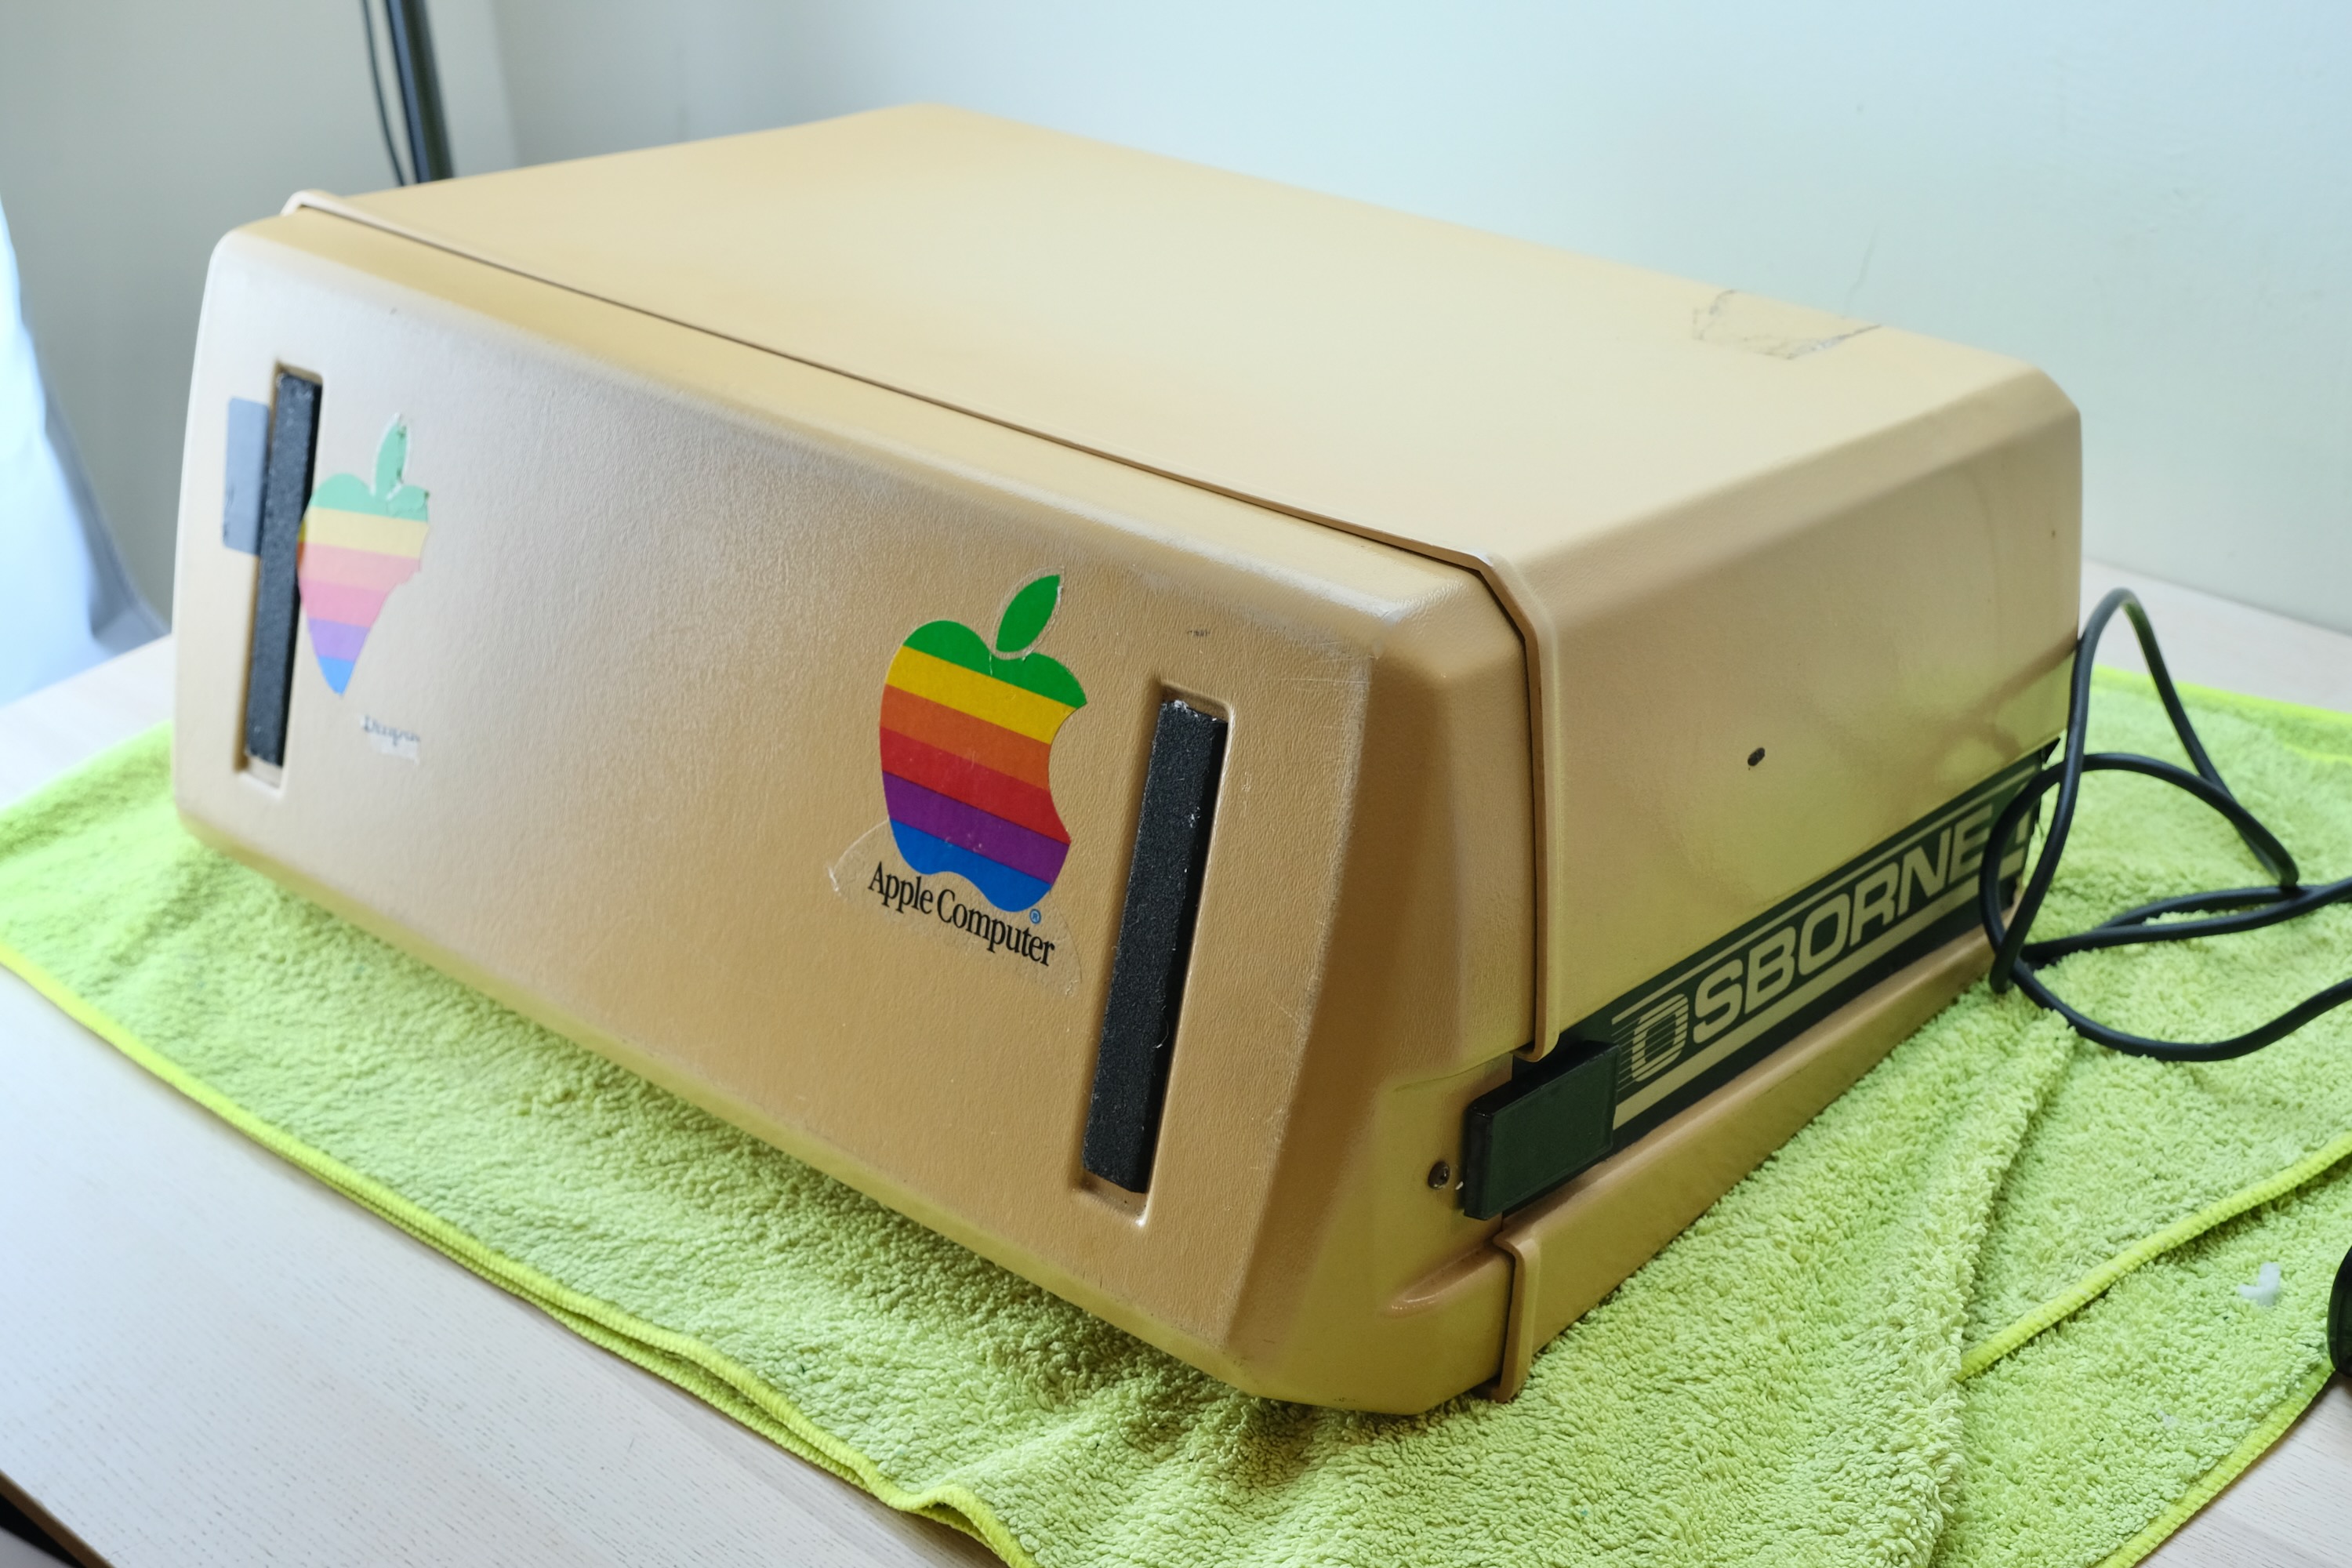
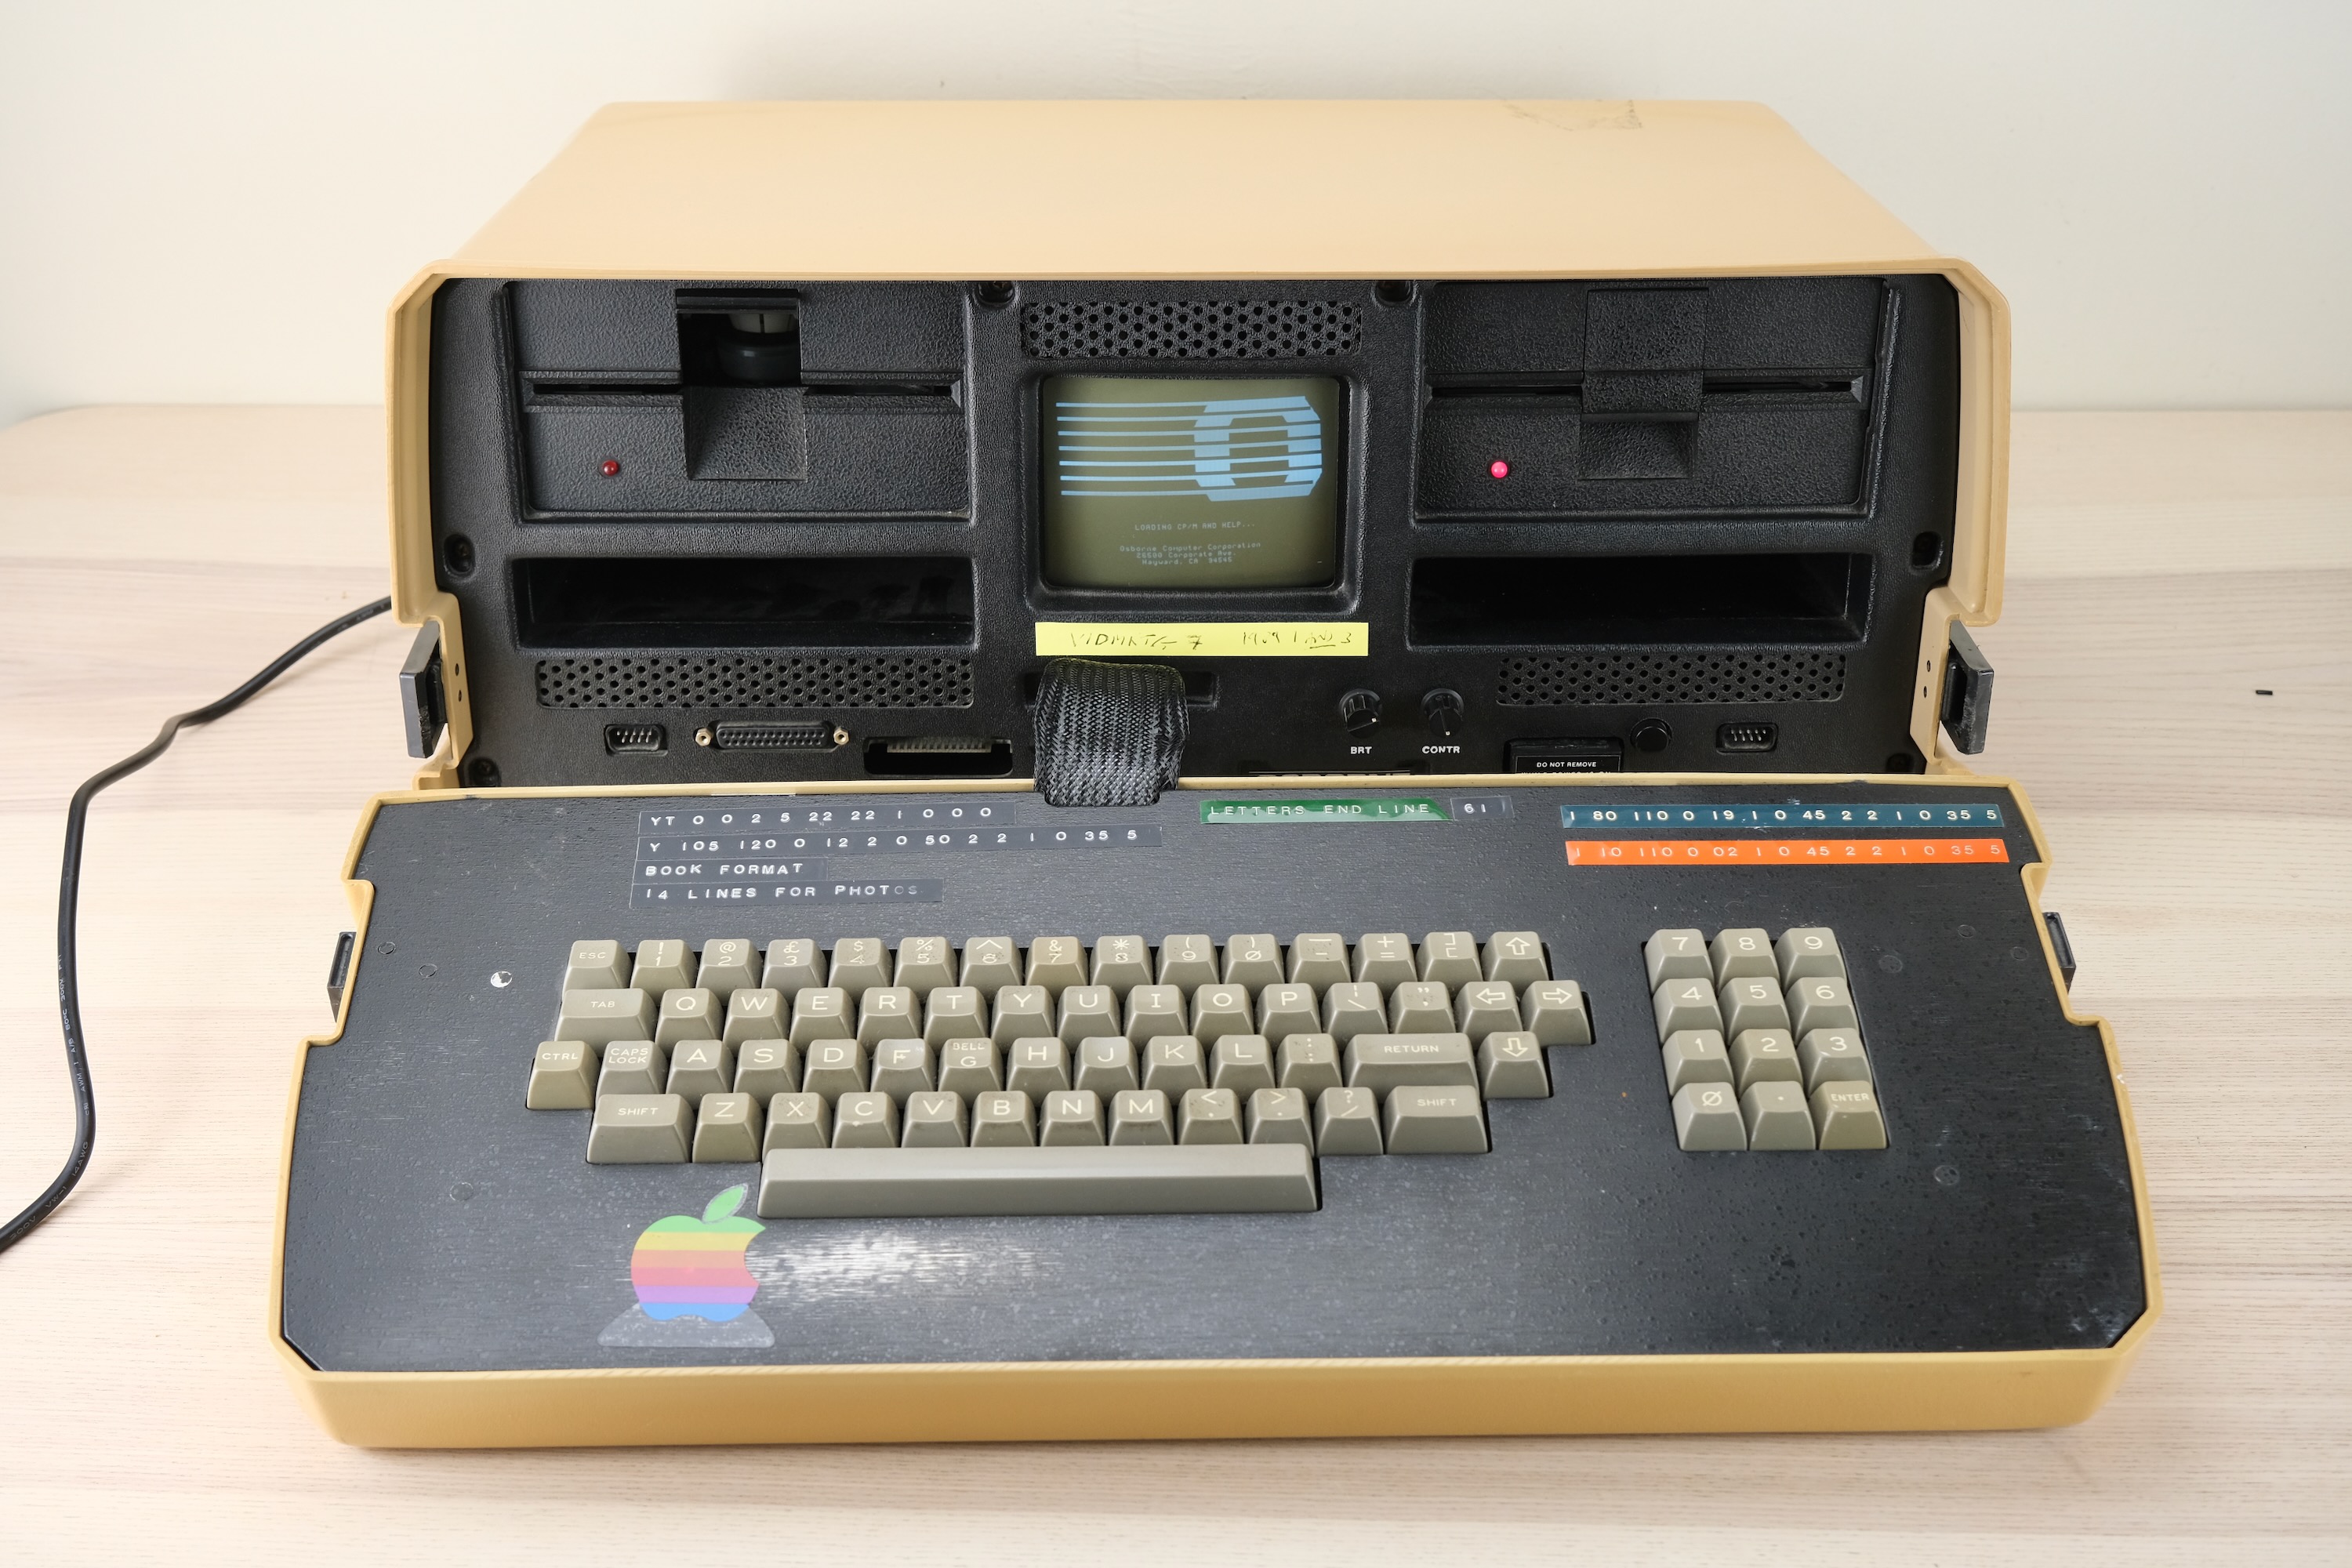
I’ll be using a new-to-me and untested early Osborne 1 for this guide, excuse the dust!
With Apple stickers! 😅
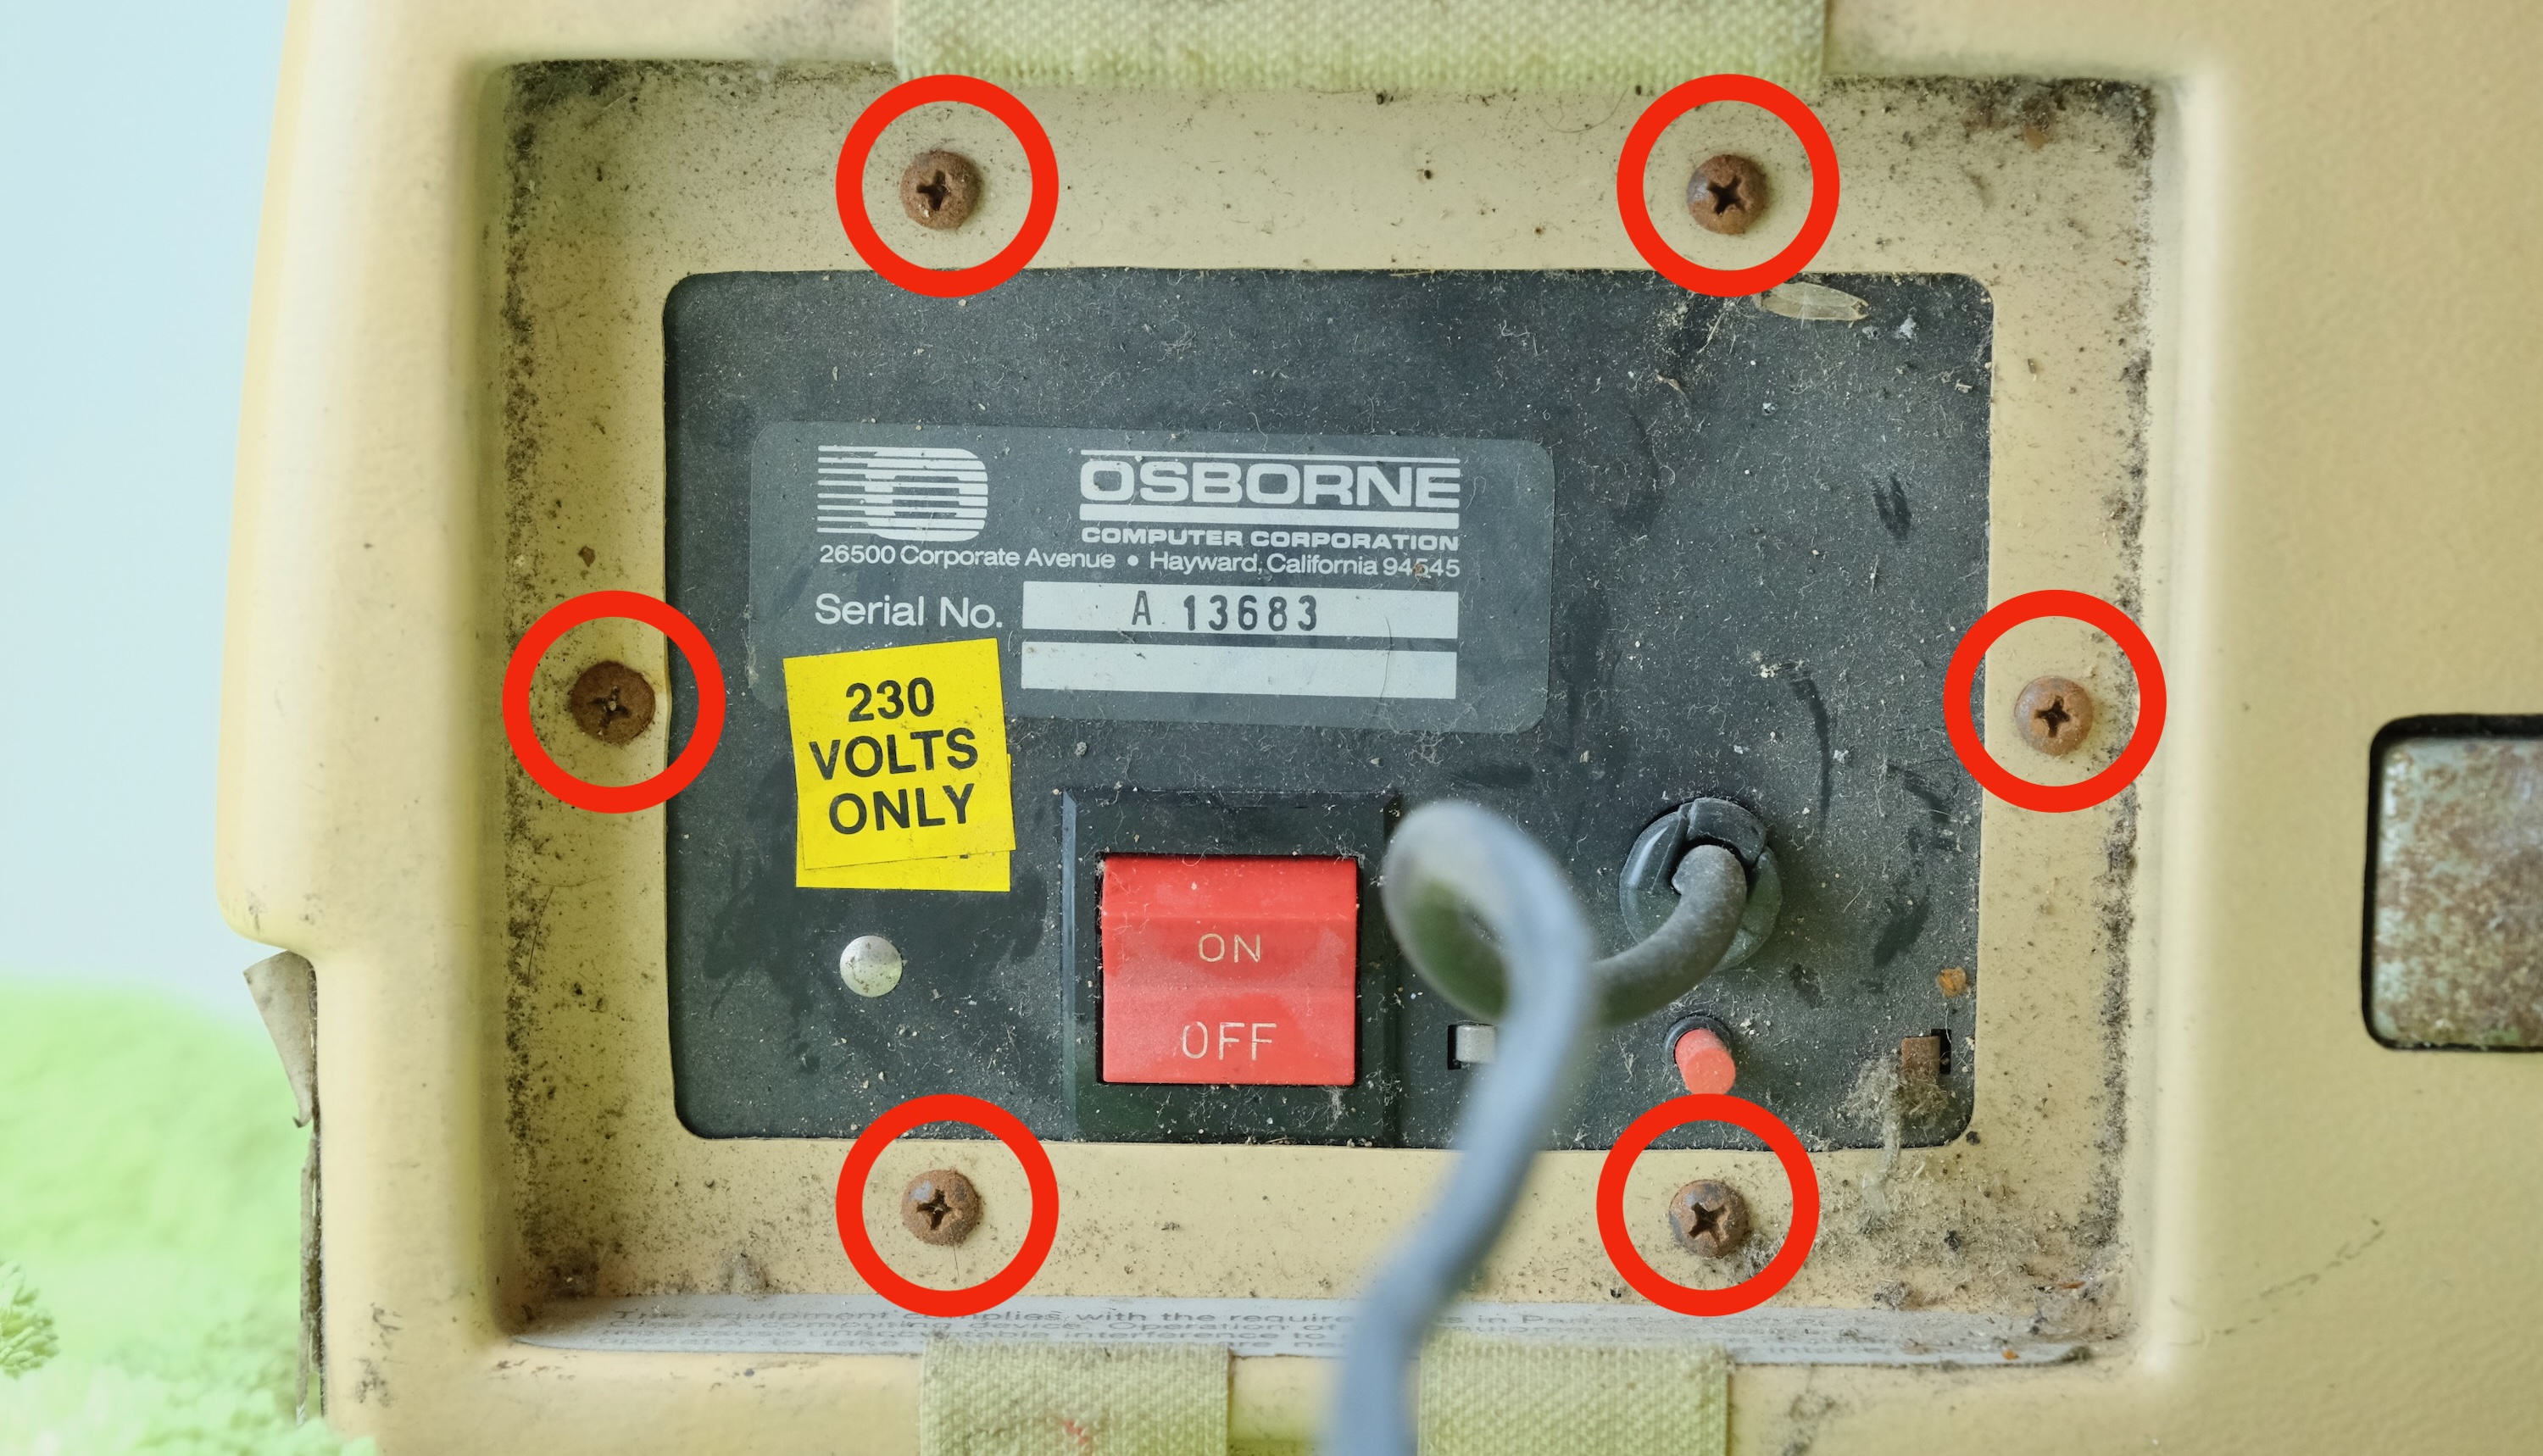
- Put it on a soft towel
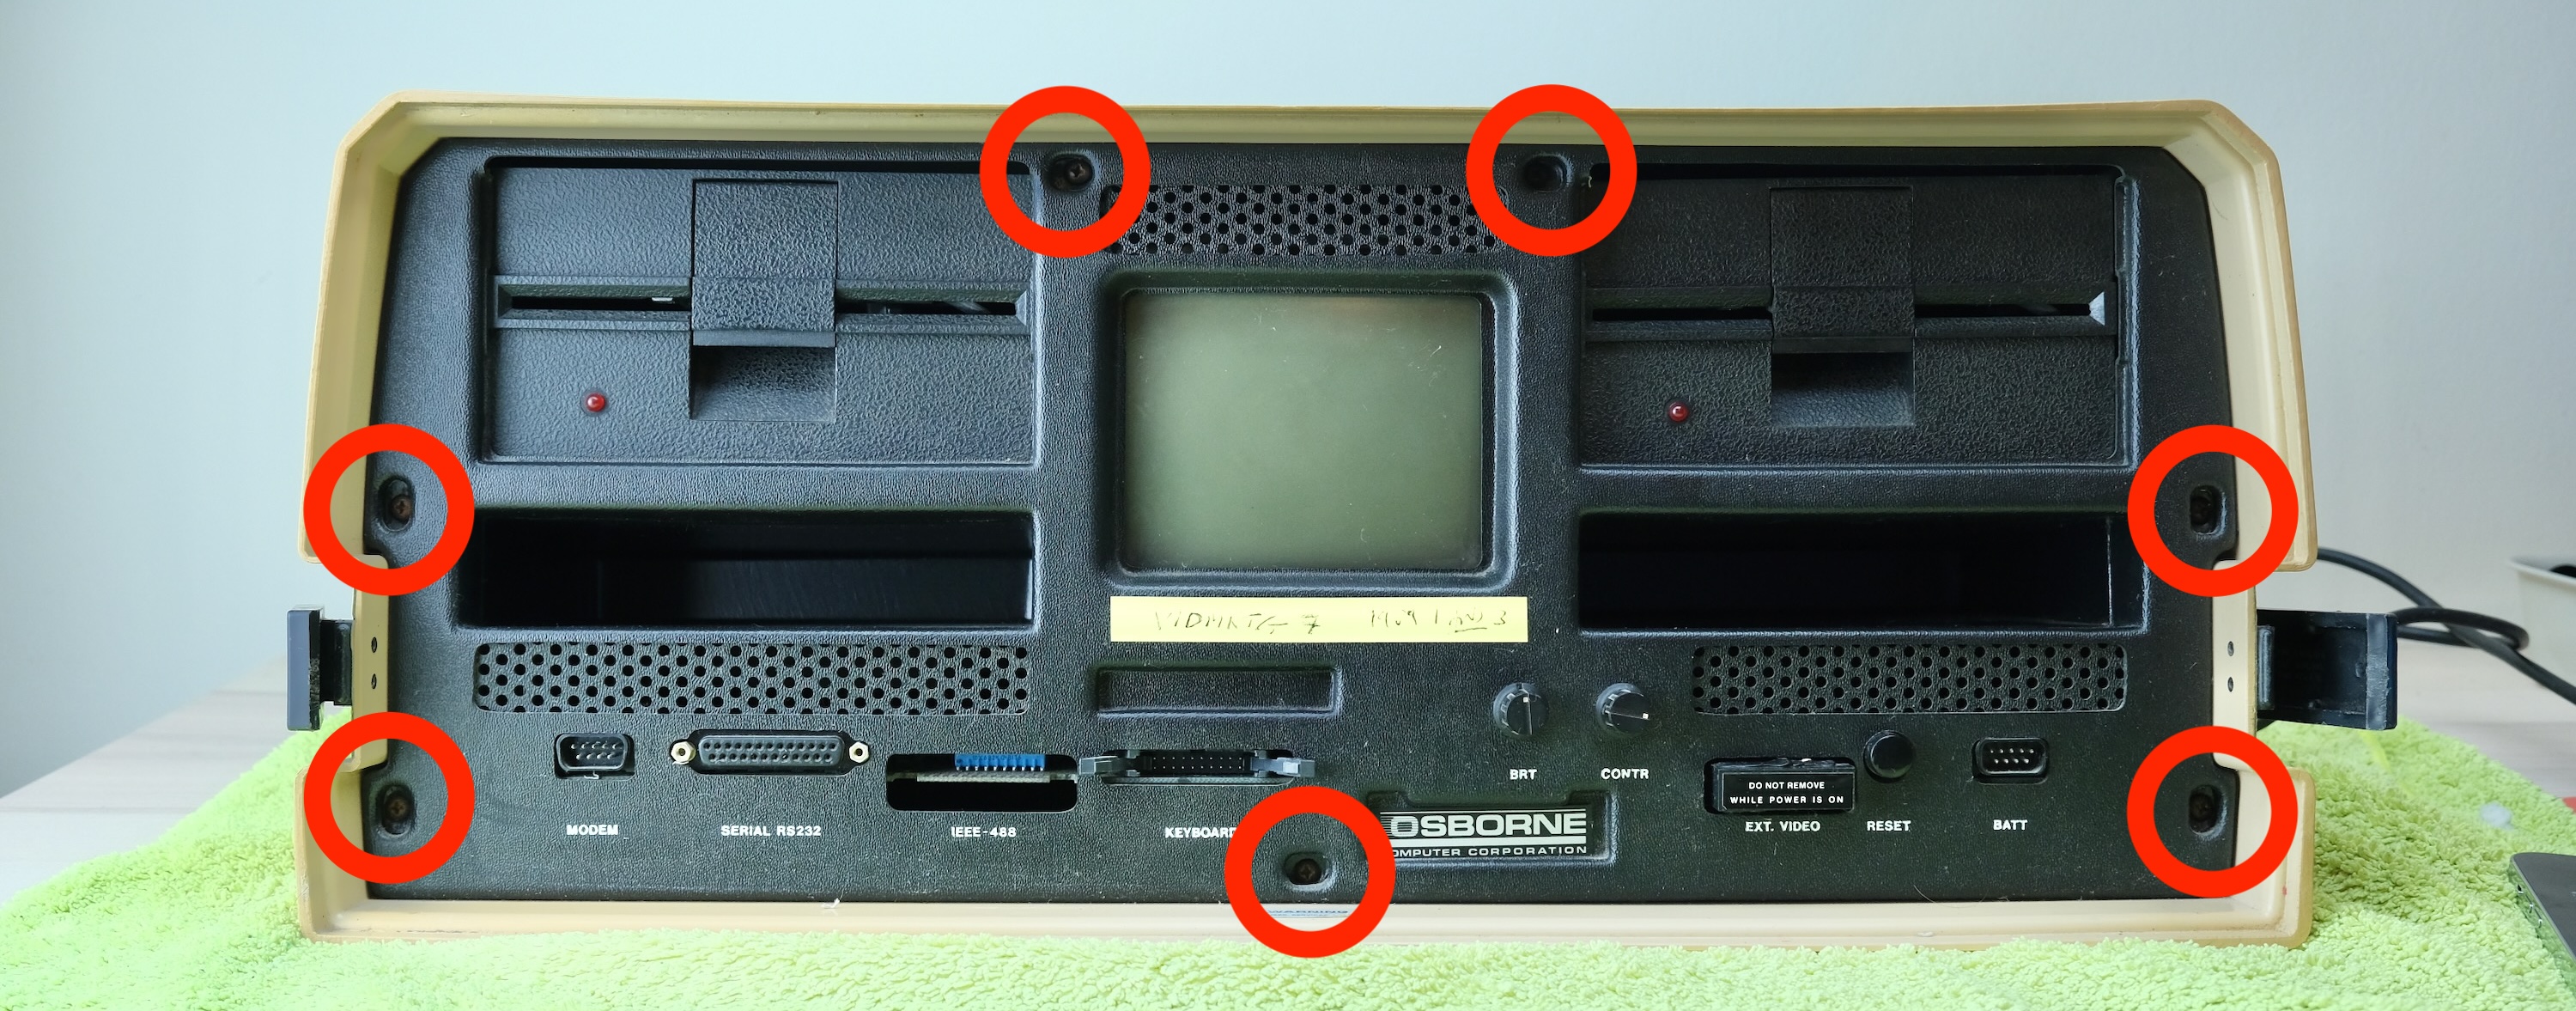
- At the back, remove 6 screws on the power panel
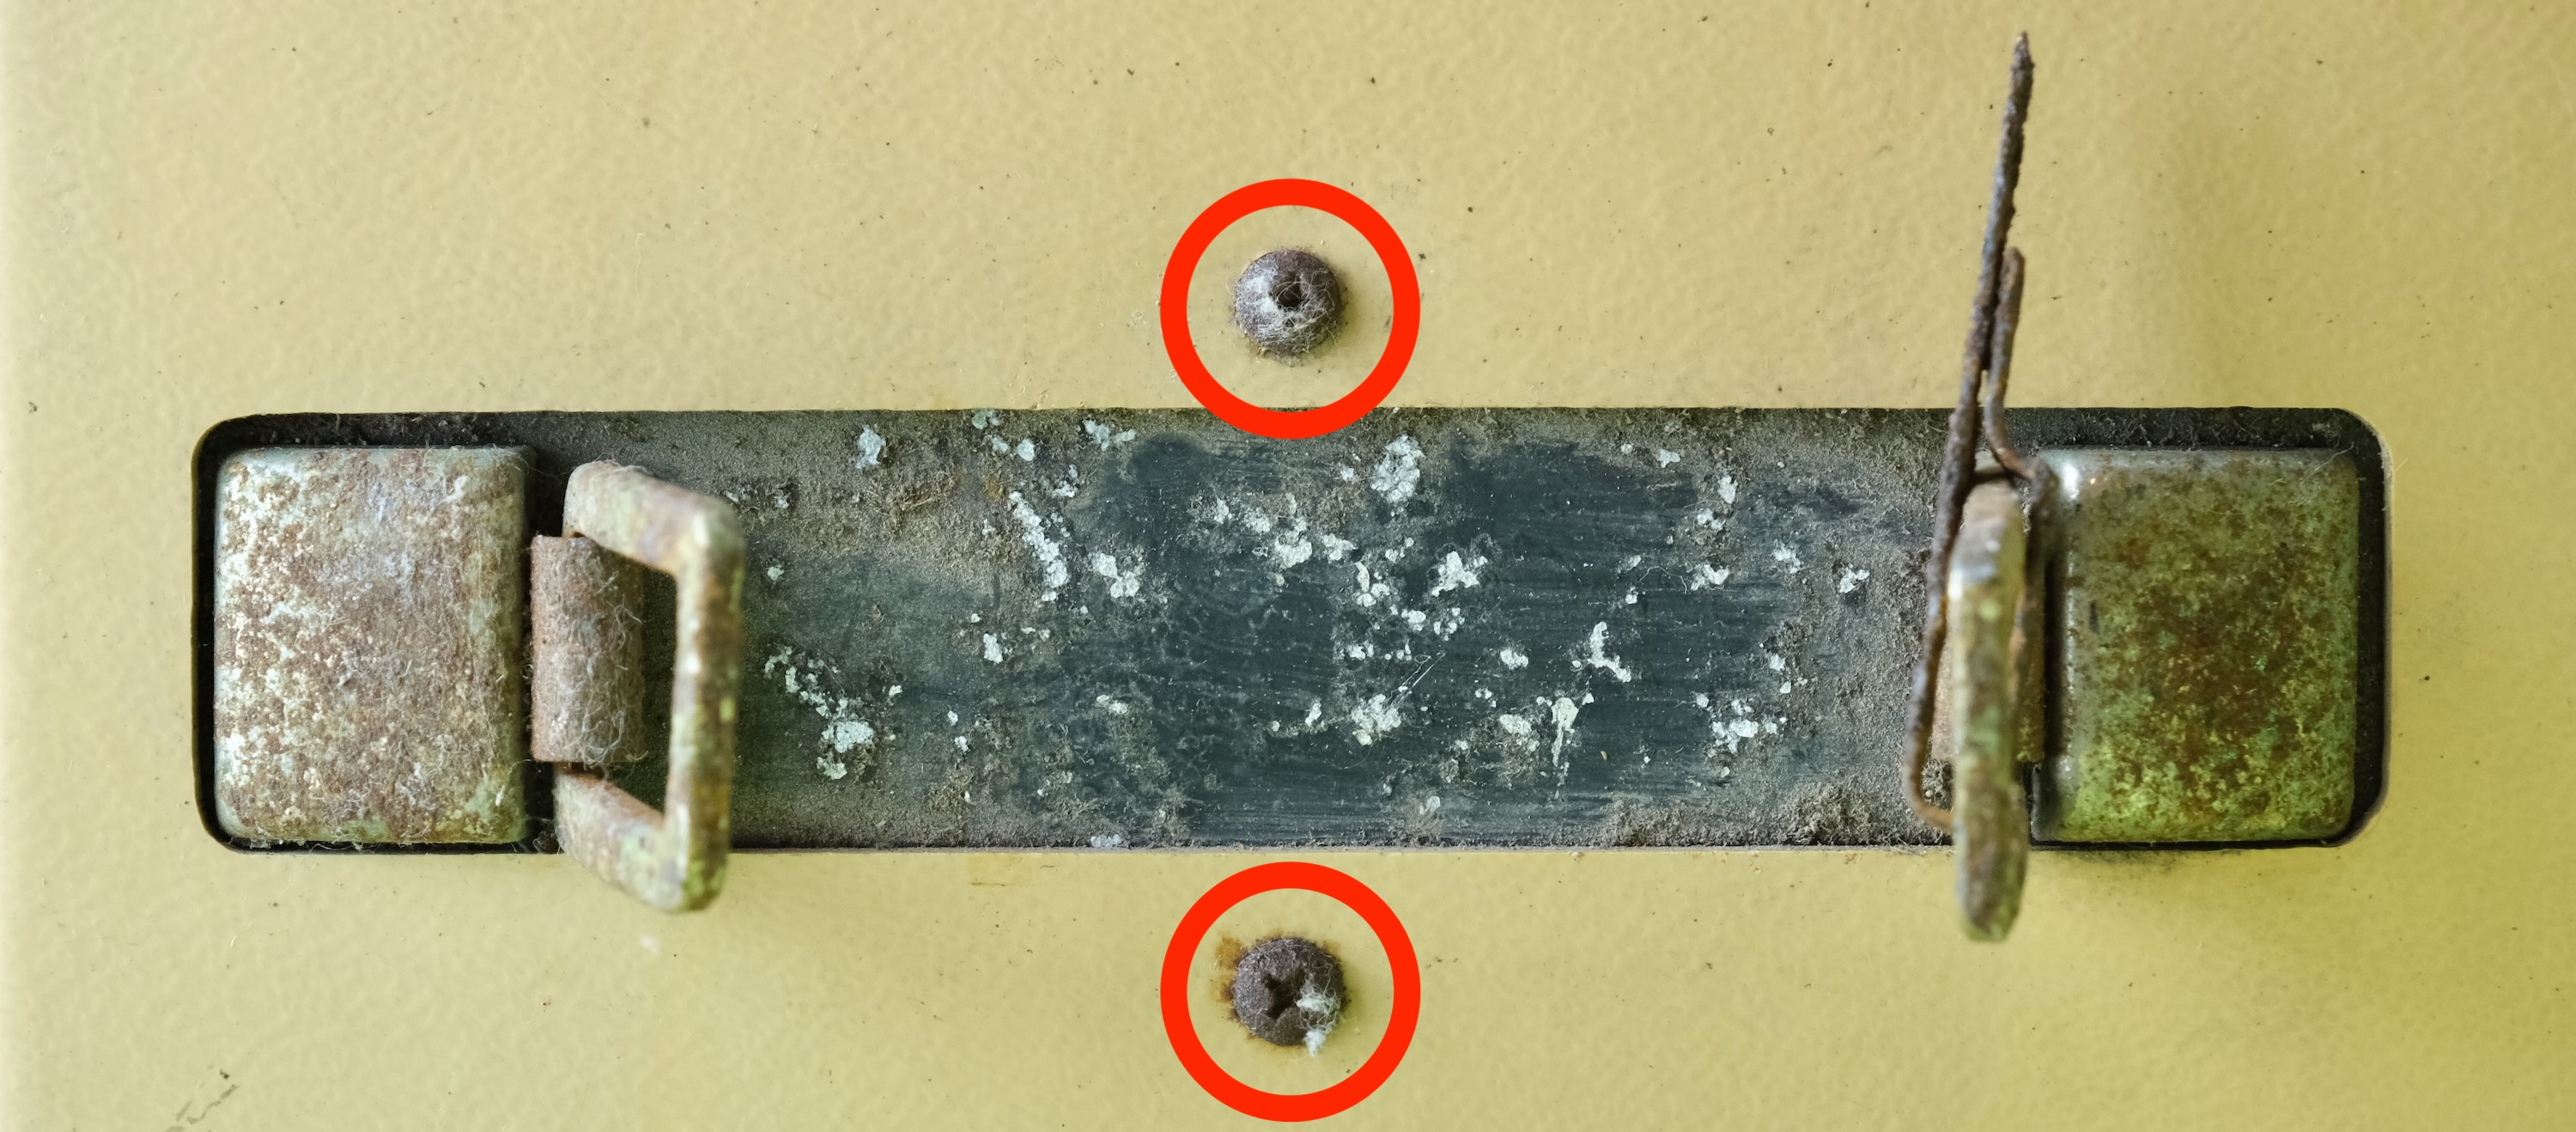
- Also two screws on the handle
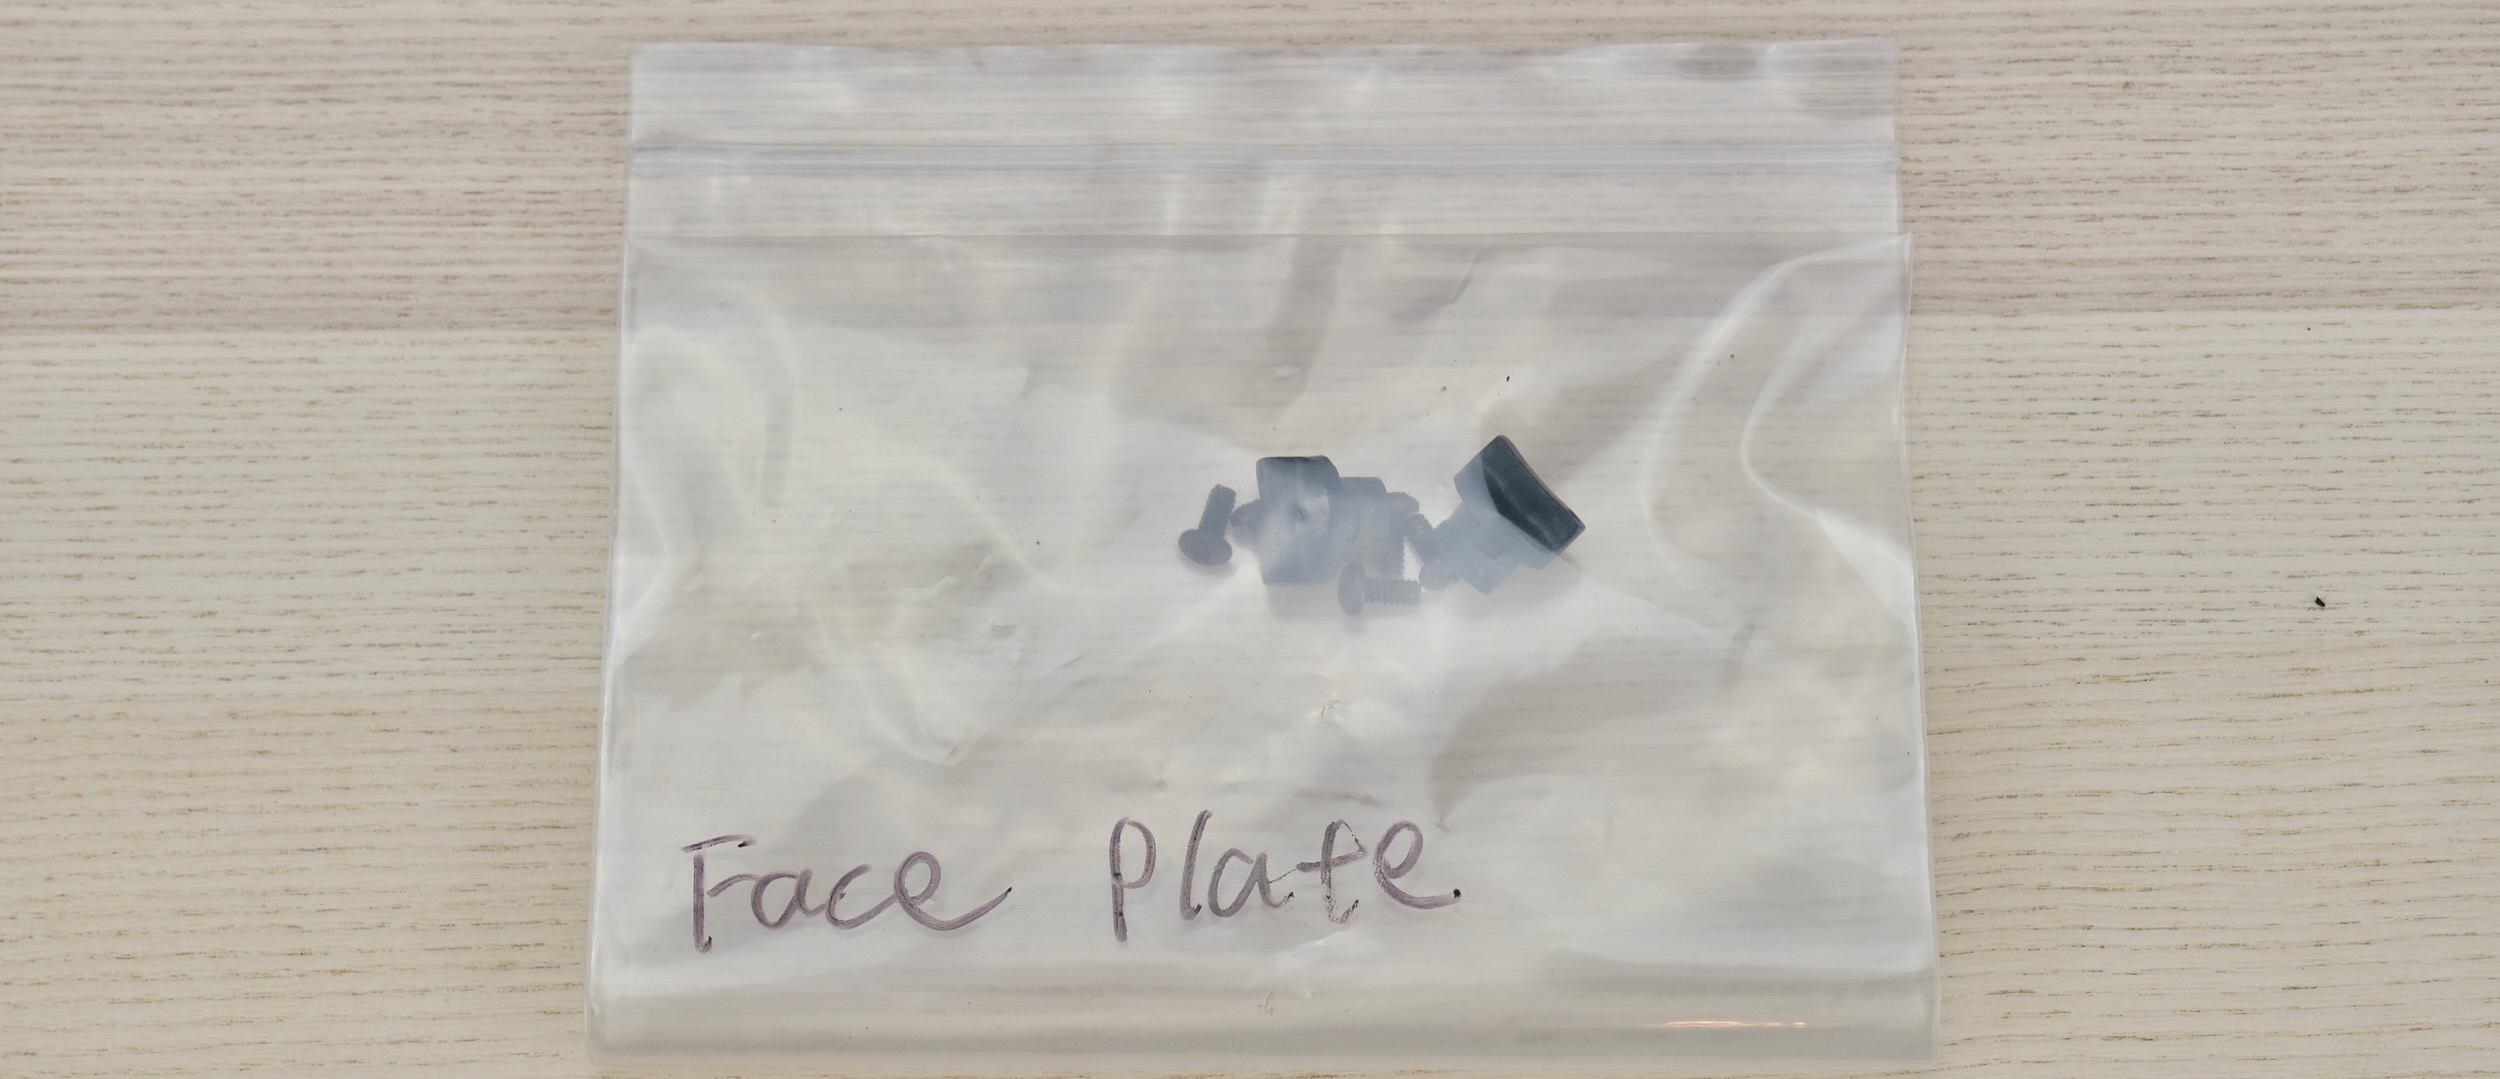
- Organise your screws!
- At each stage, put em in a bag with labels to avoid mix-ups.
- Unlatch and unplug the keyboard.
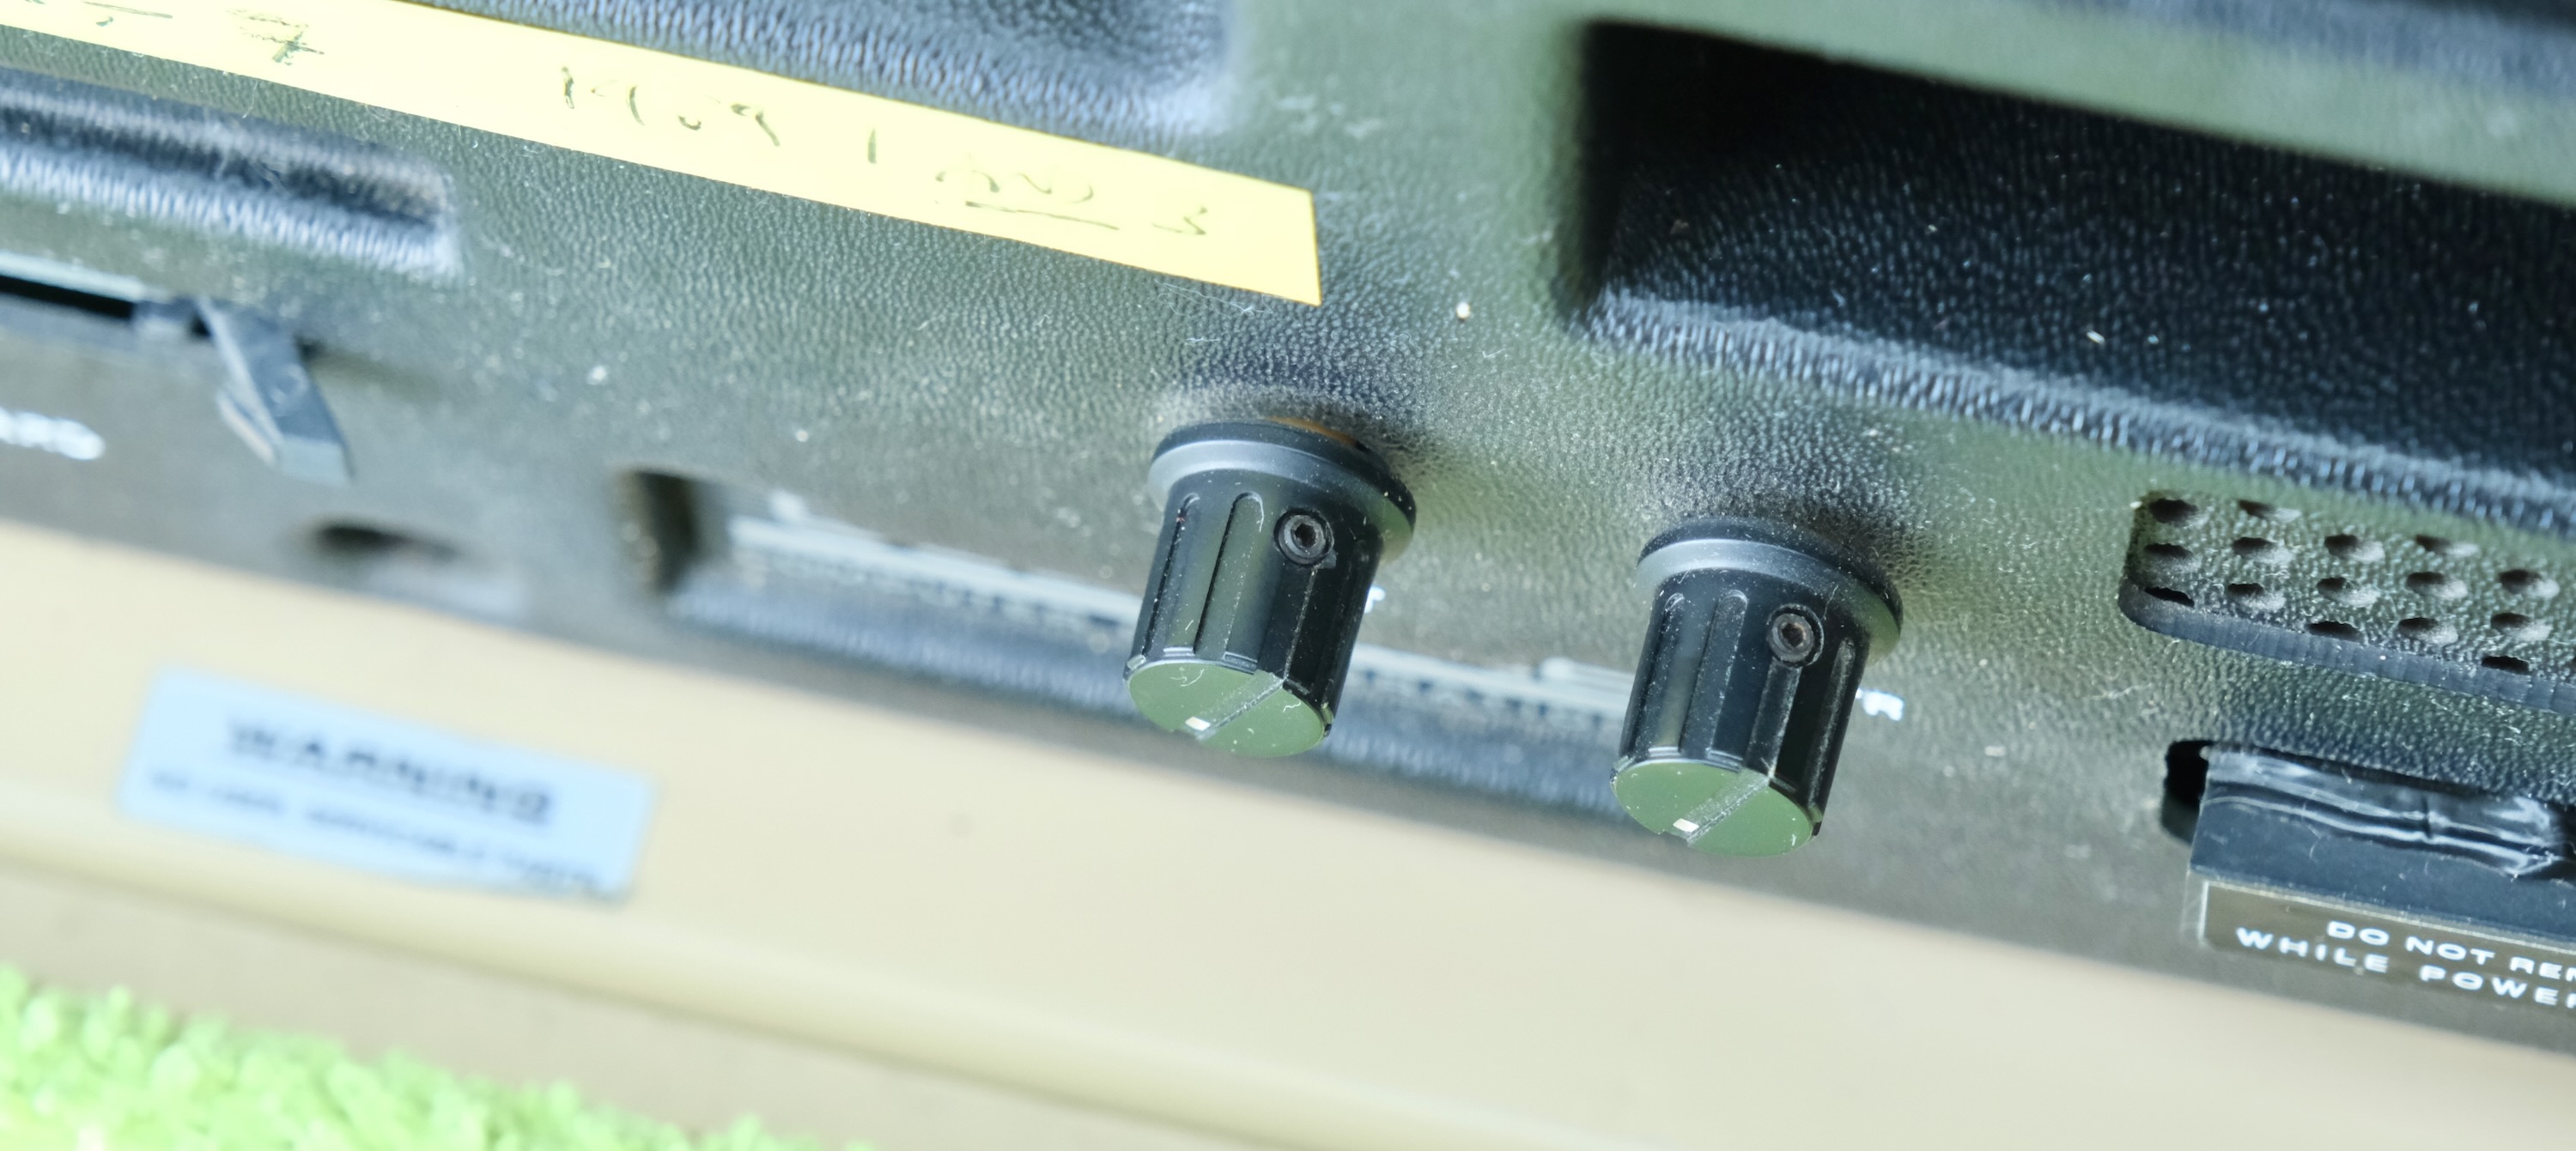
- Remove brightness and contrast knob
- Undo grub screw with small allen key
- Pull off knobs
- Undo the 7 face plate screws
-
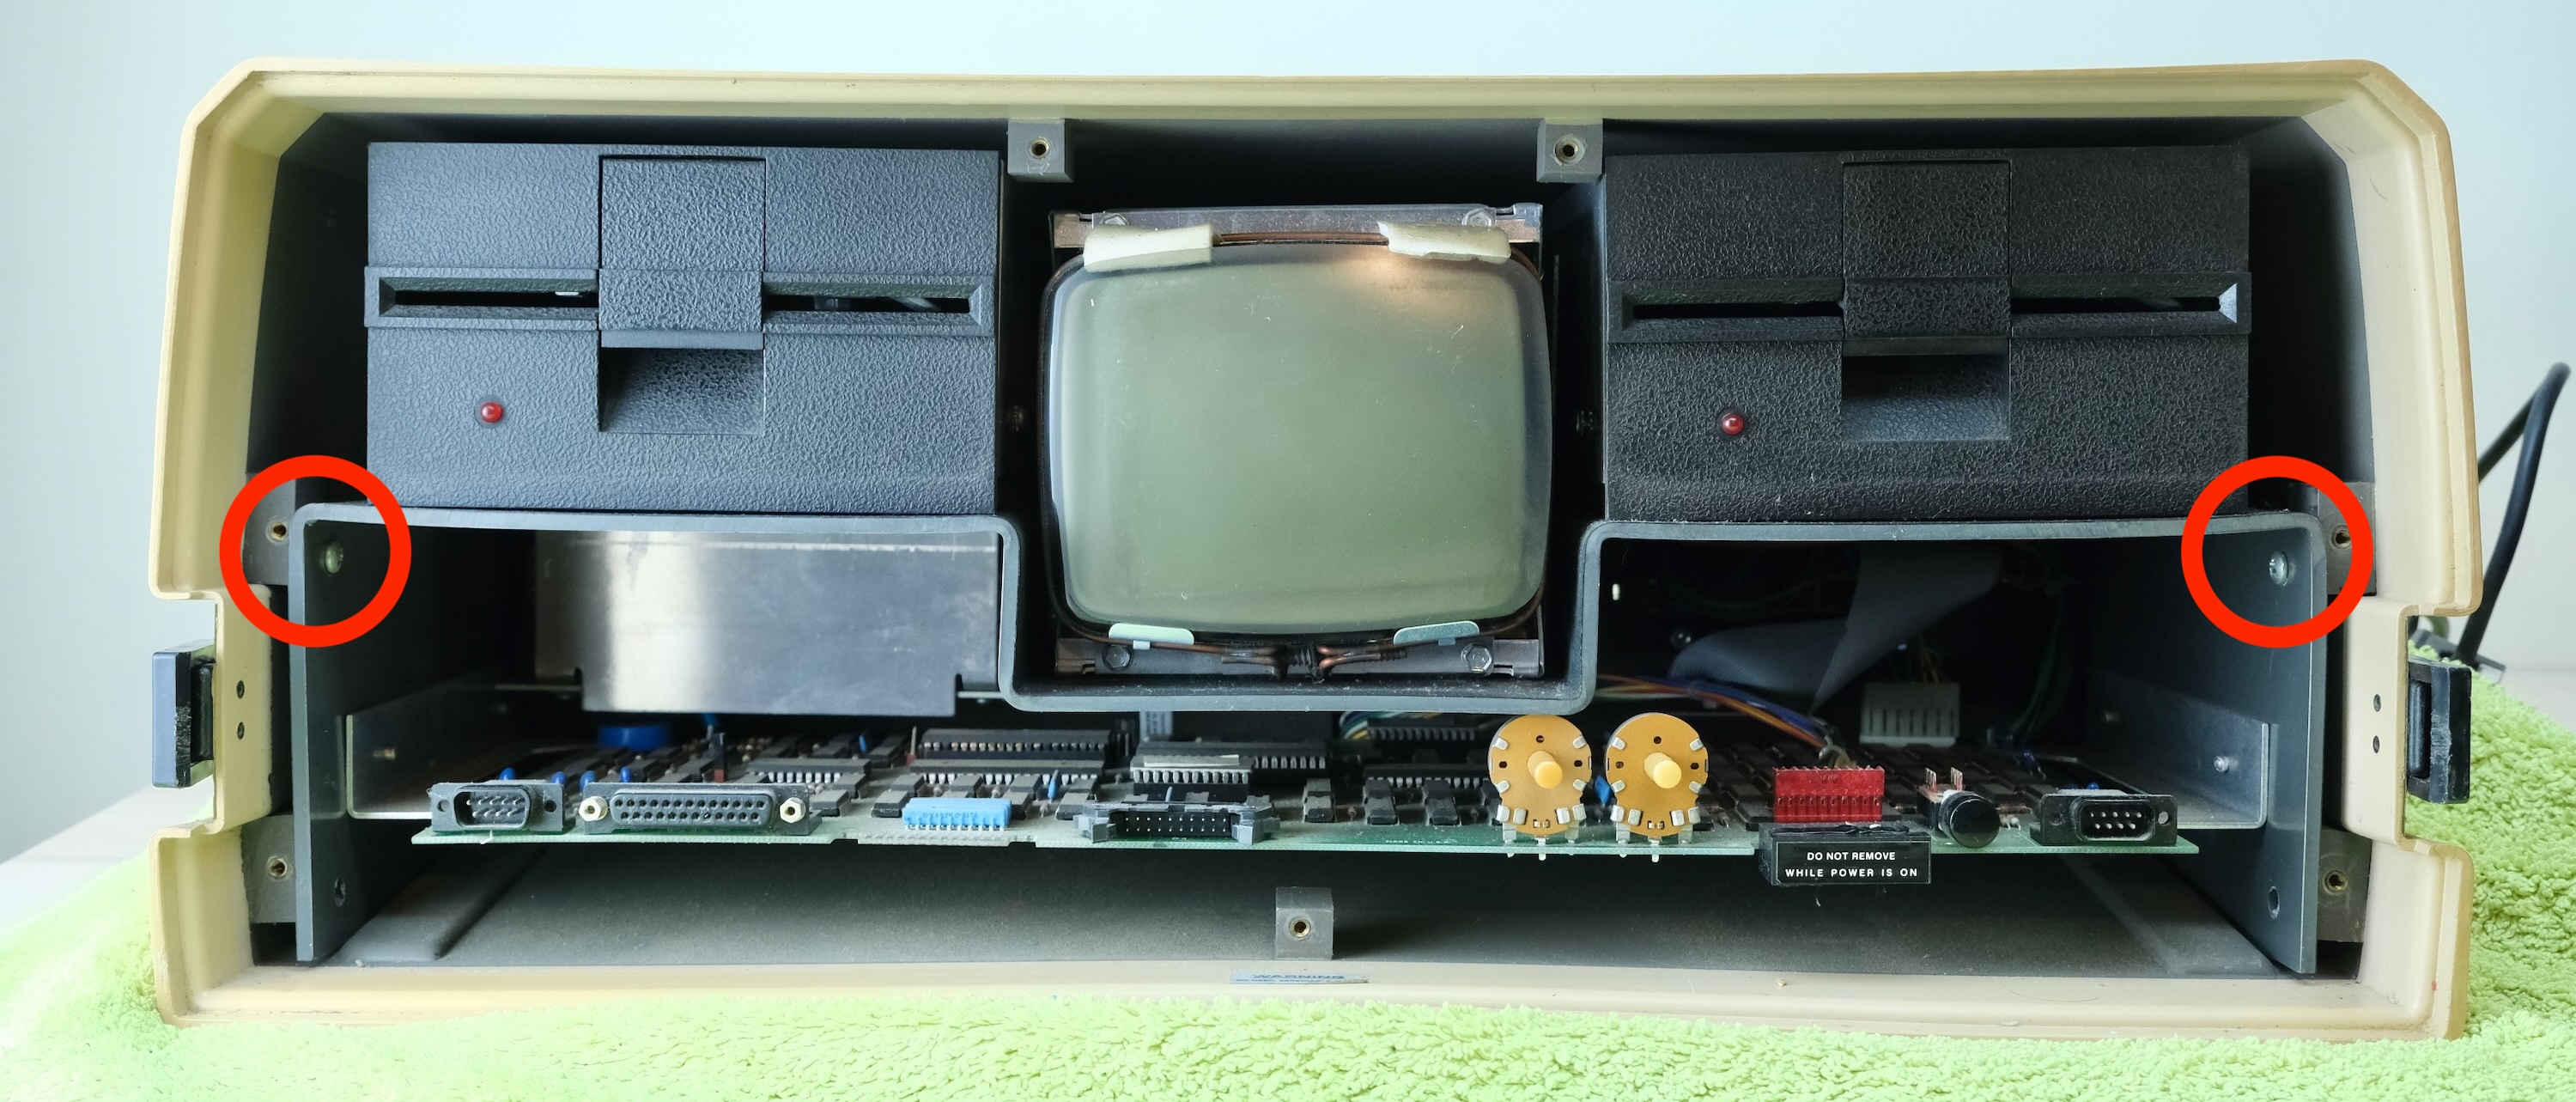
Remove the face plate
-
Remove the two side screws
- Take out the entire innards

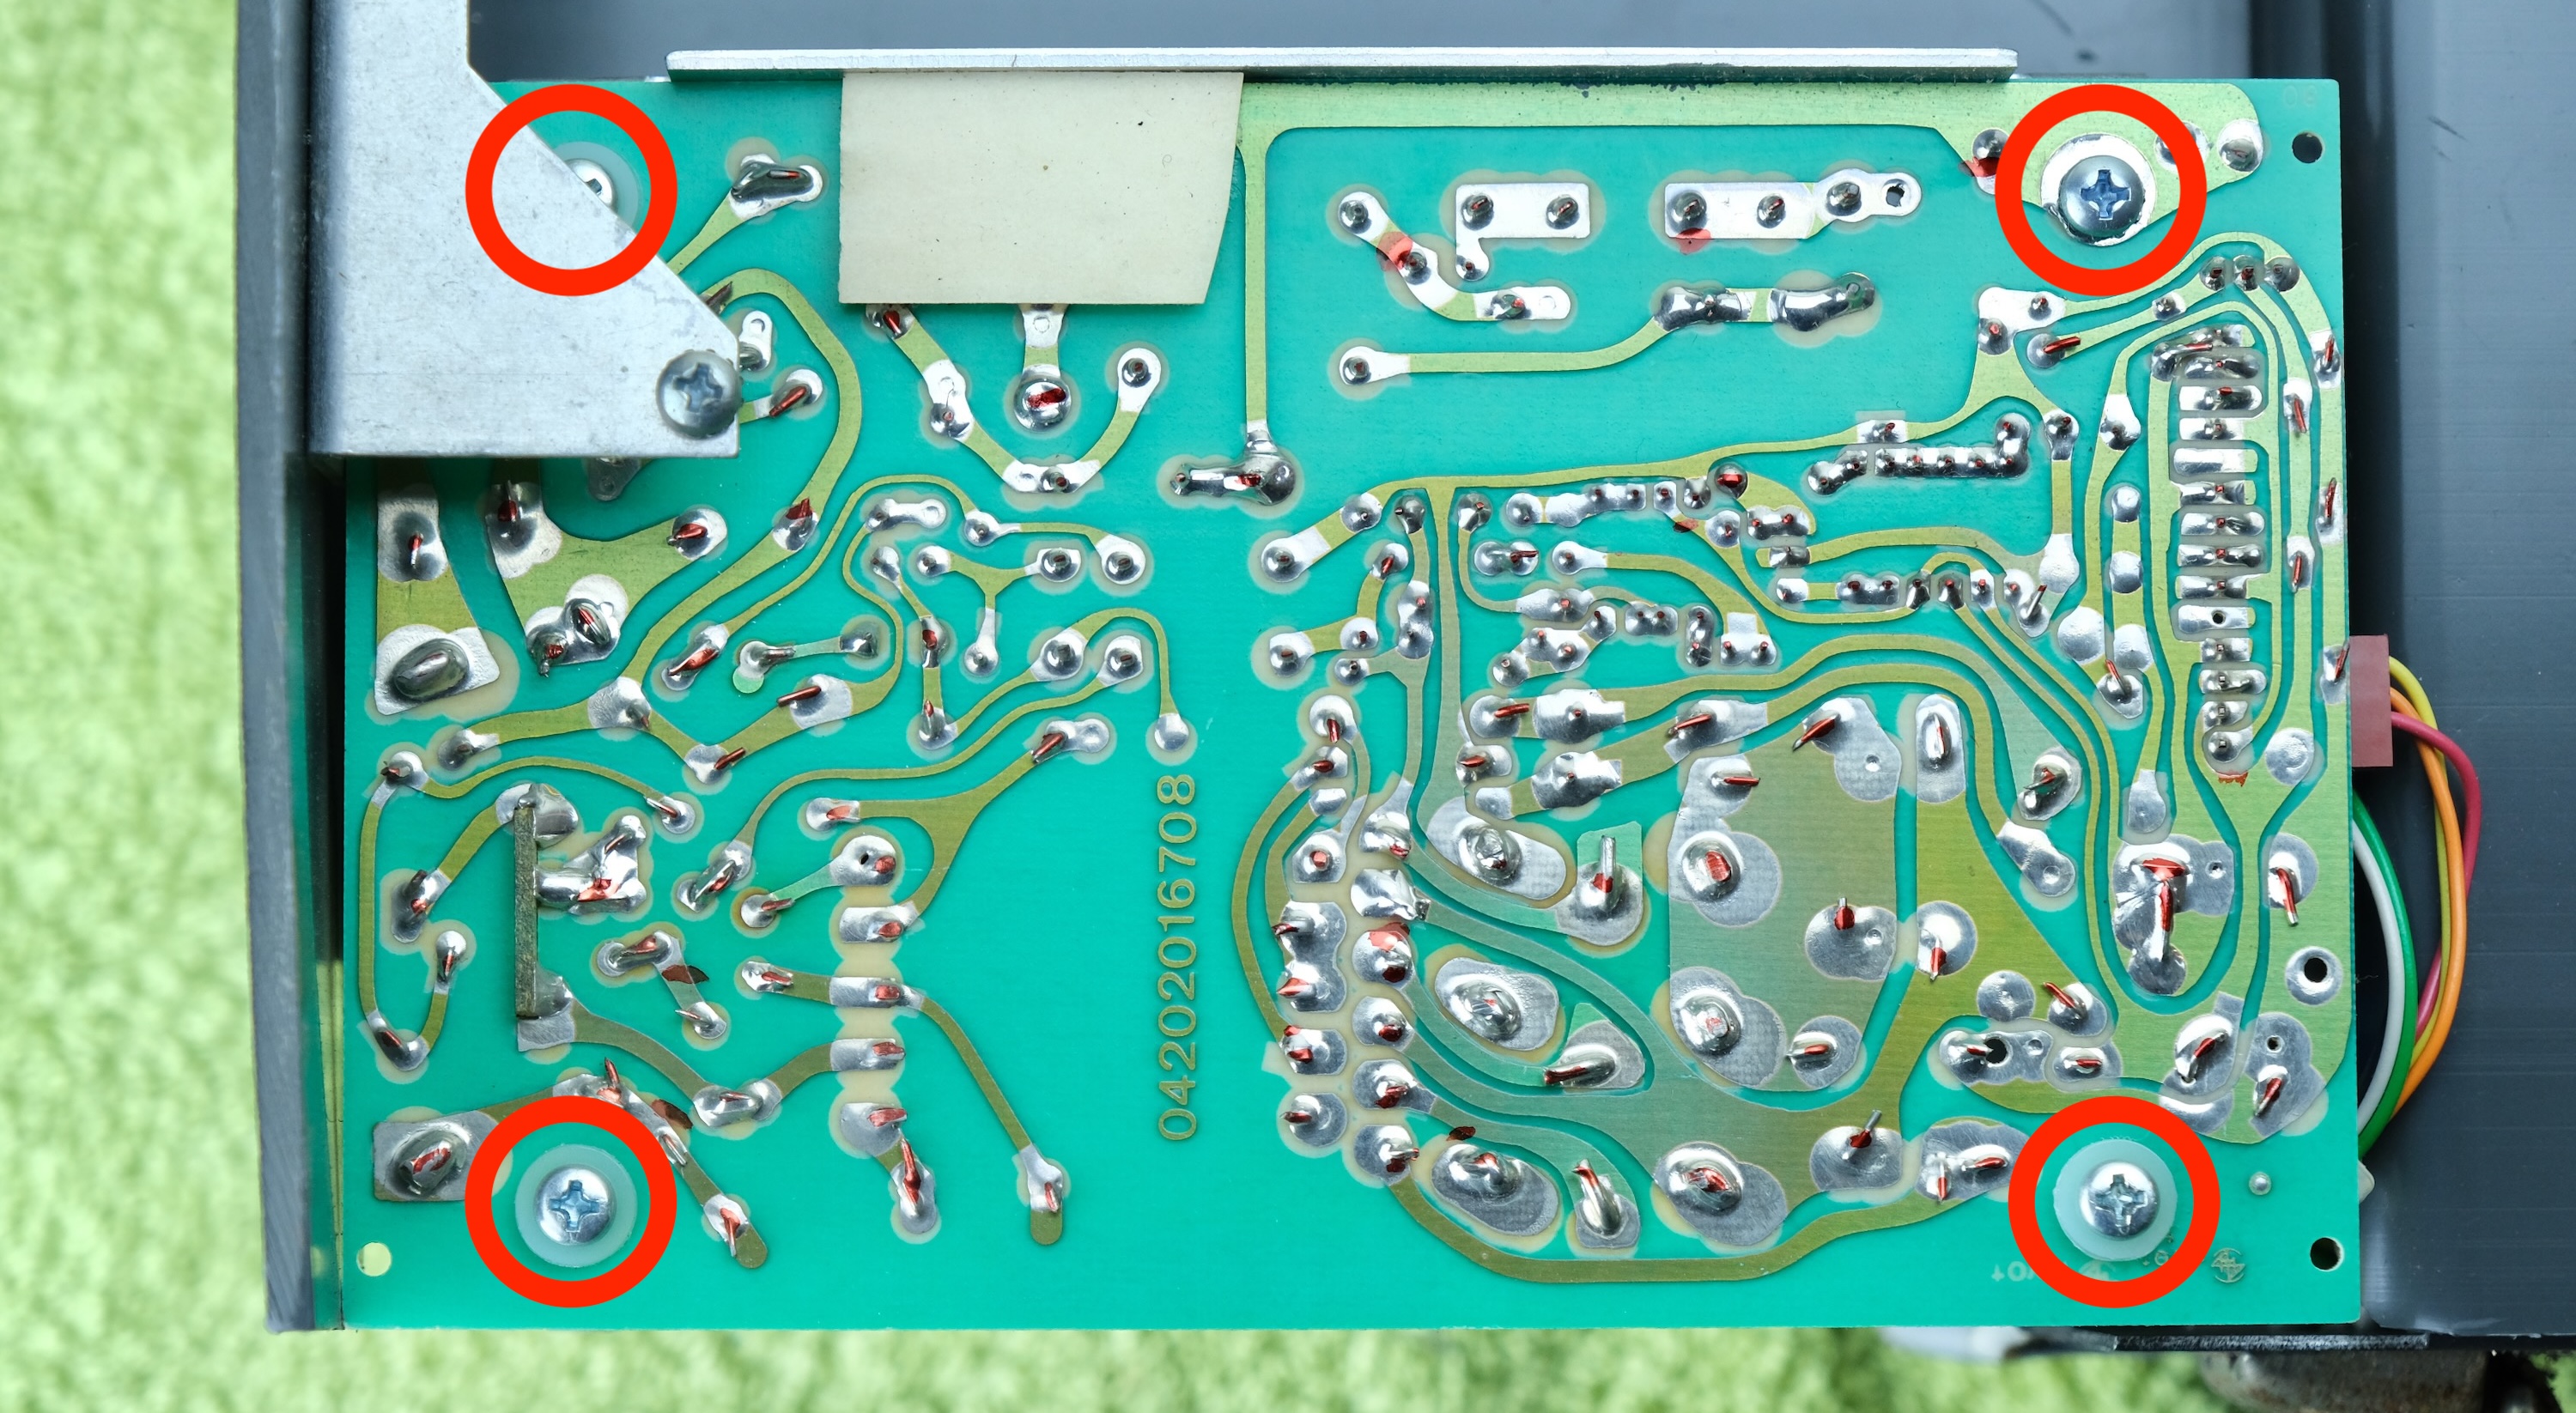
- Flip it over and remove 4 screws holding the motherboard

- Rest the motherboard on the table.
- Take some photos of all the connectors’ orientation
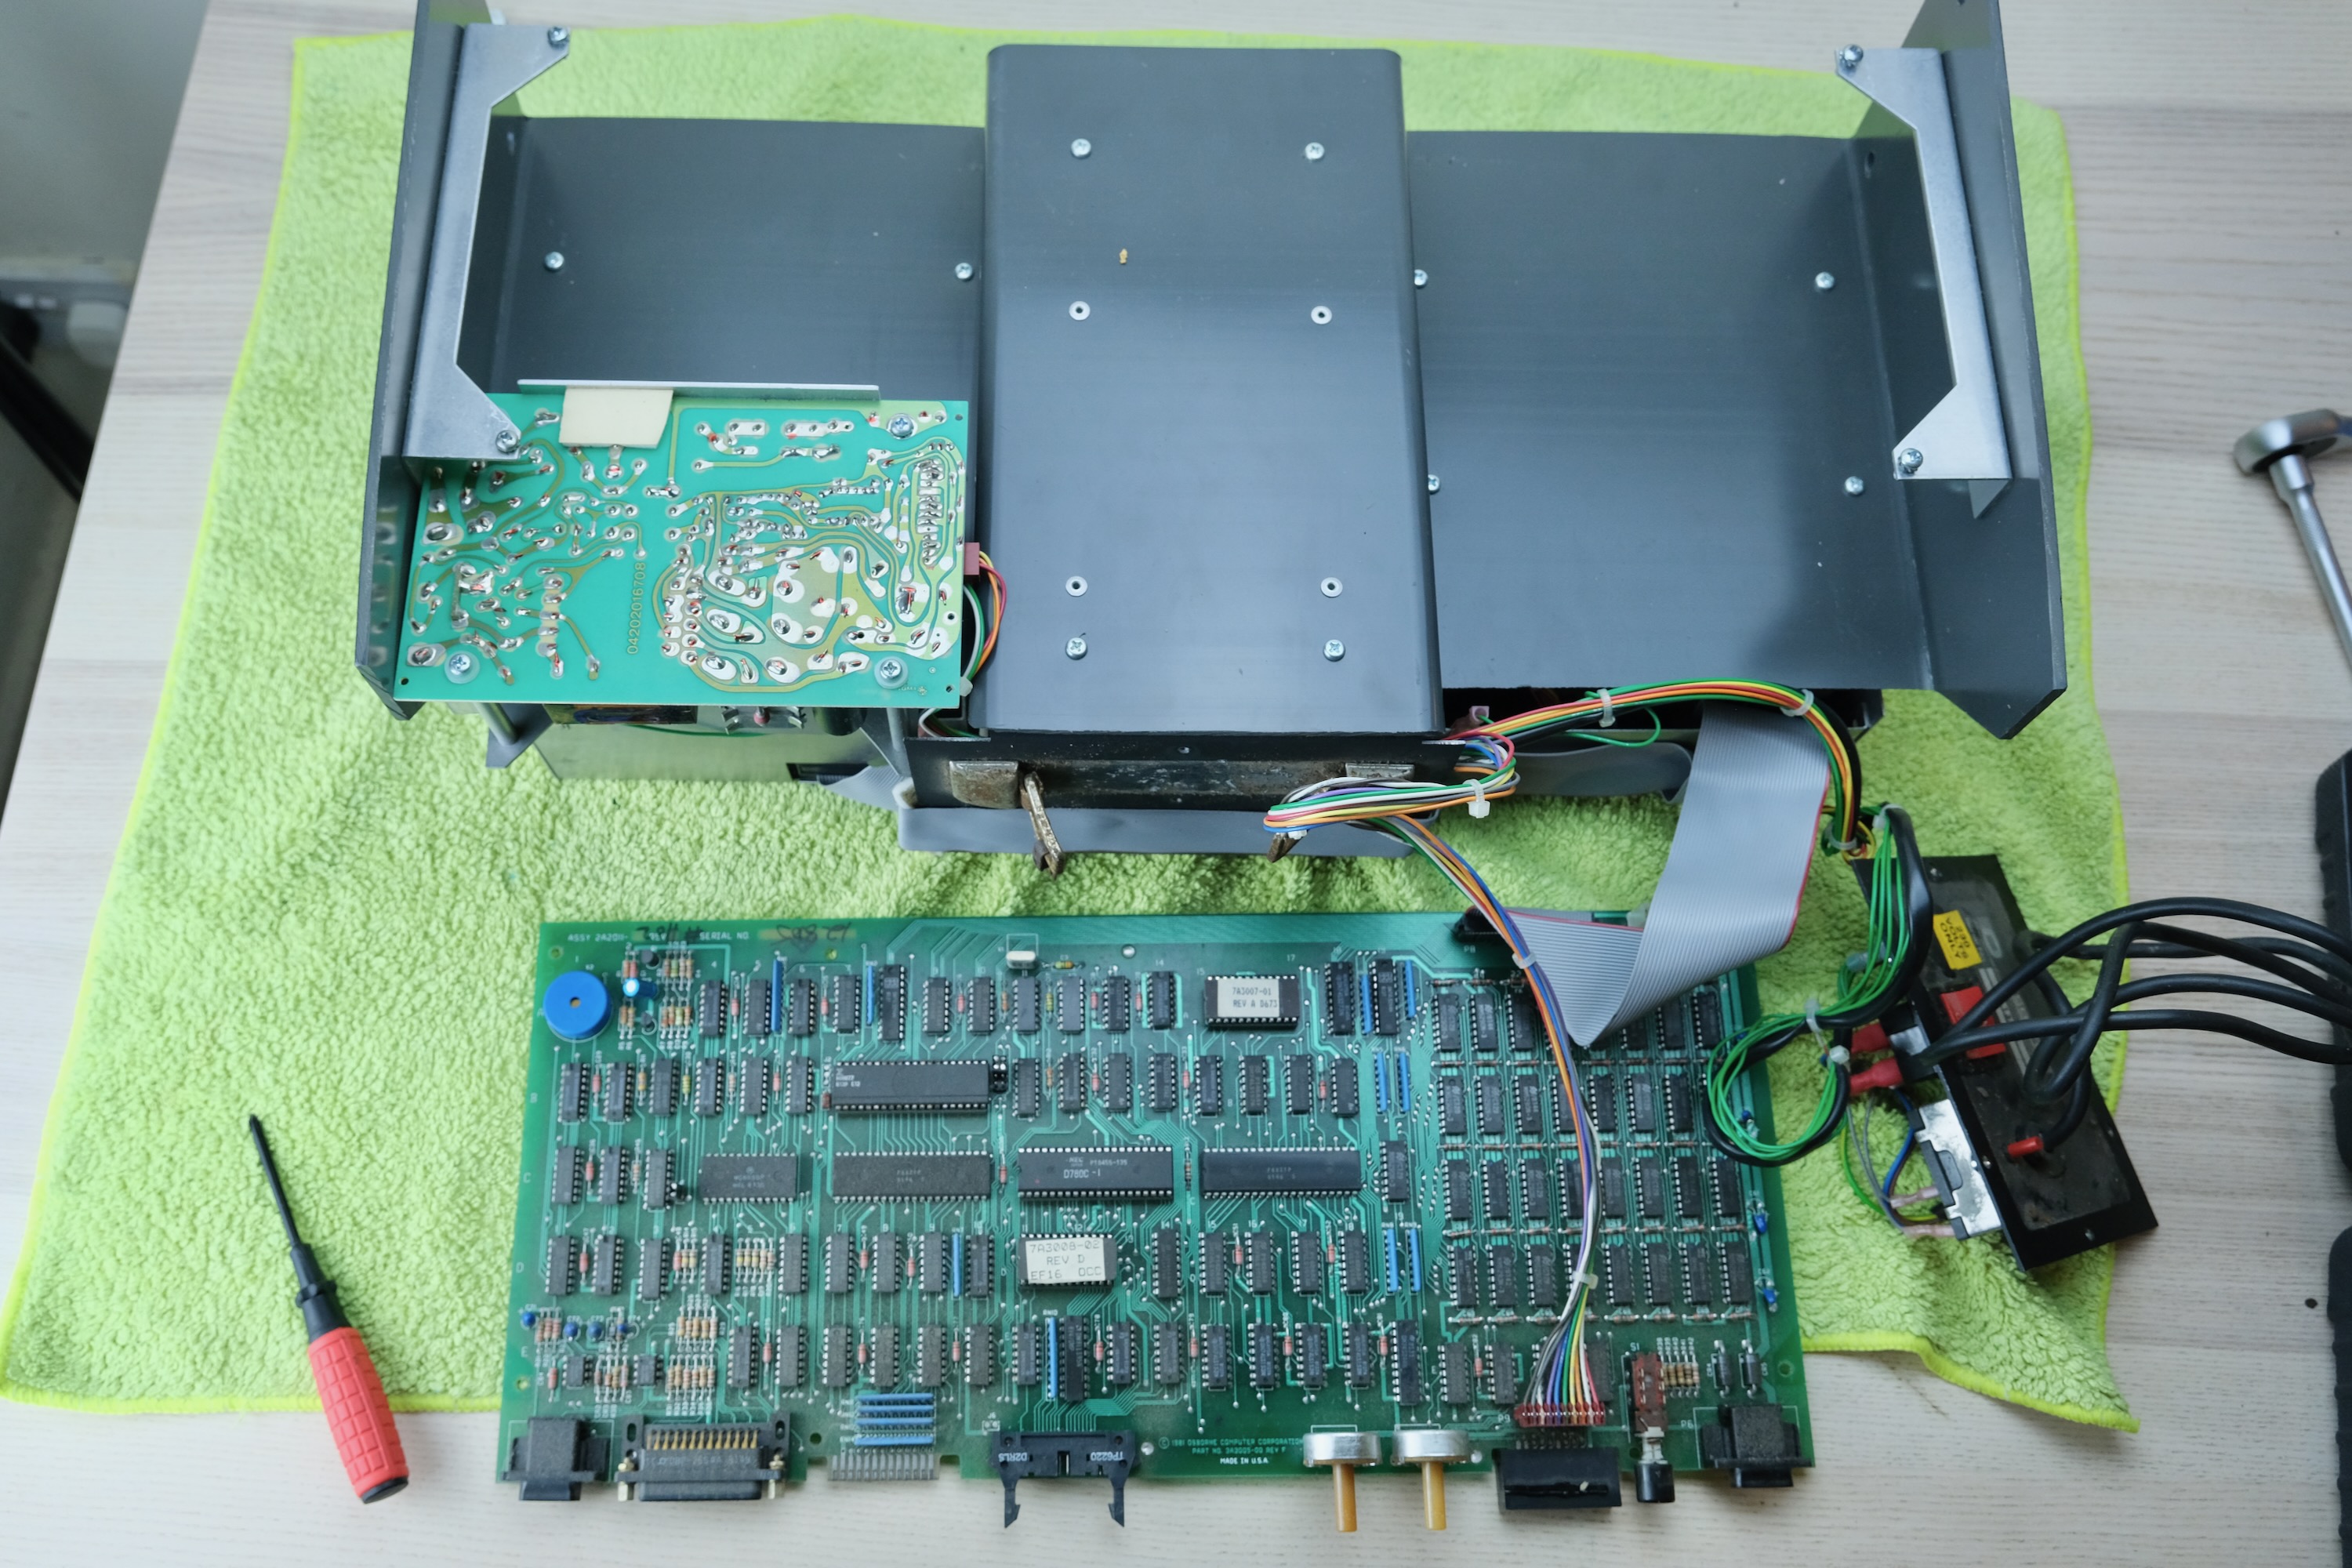
- Undo 4 screws on the old PSU
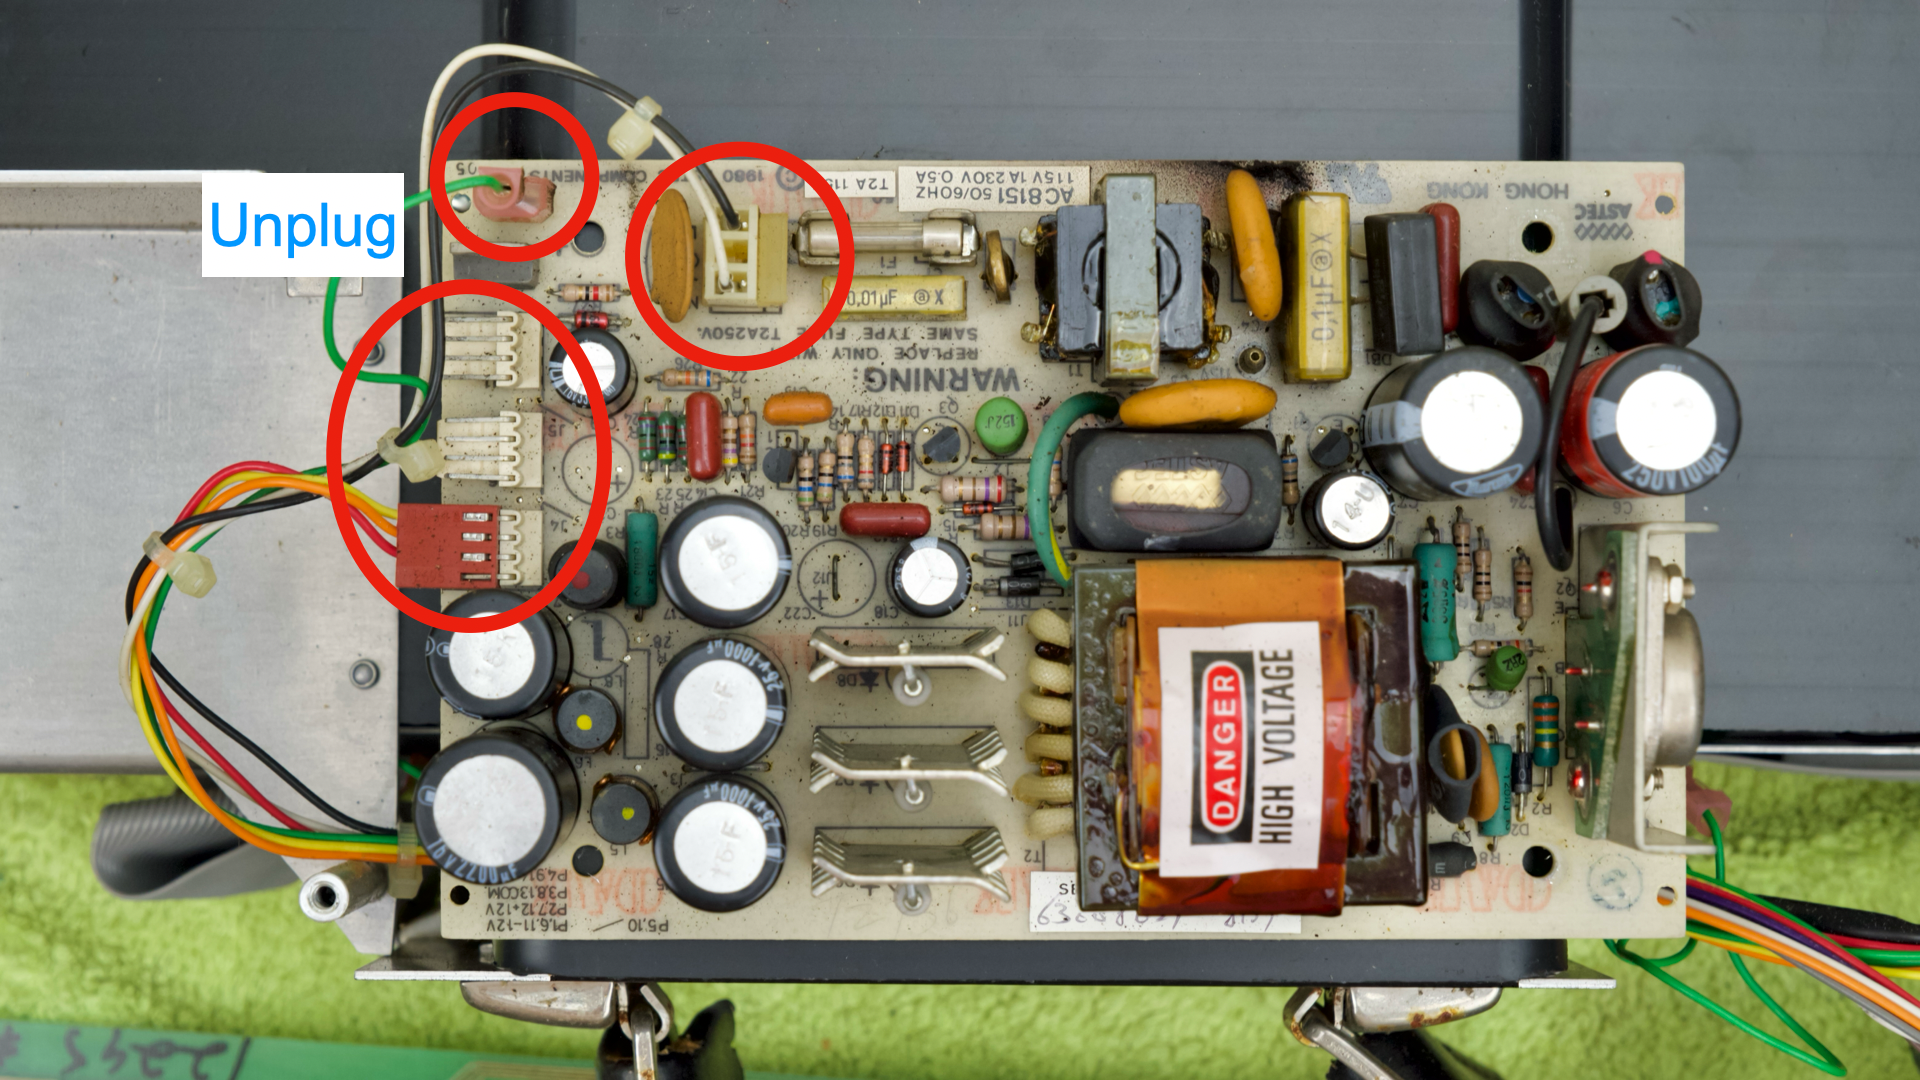
- Flip over old PSU
- Unplug connectors shown
- Put it away for safekeeping
- DO NOT throw anything away!
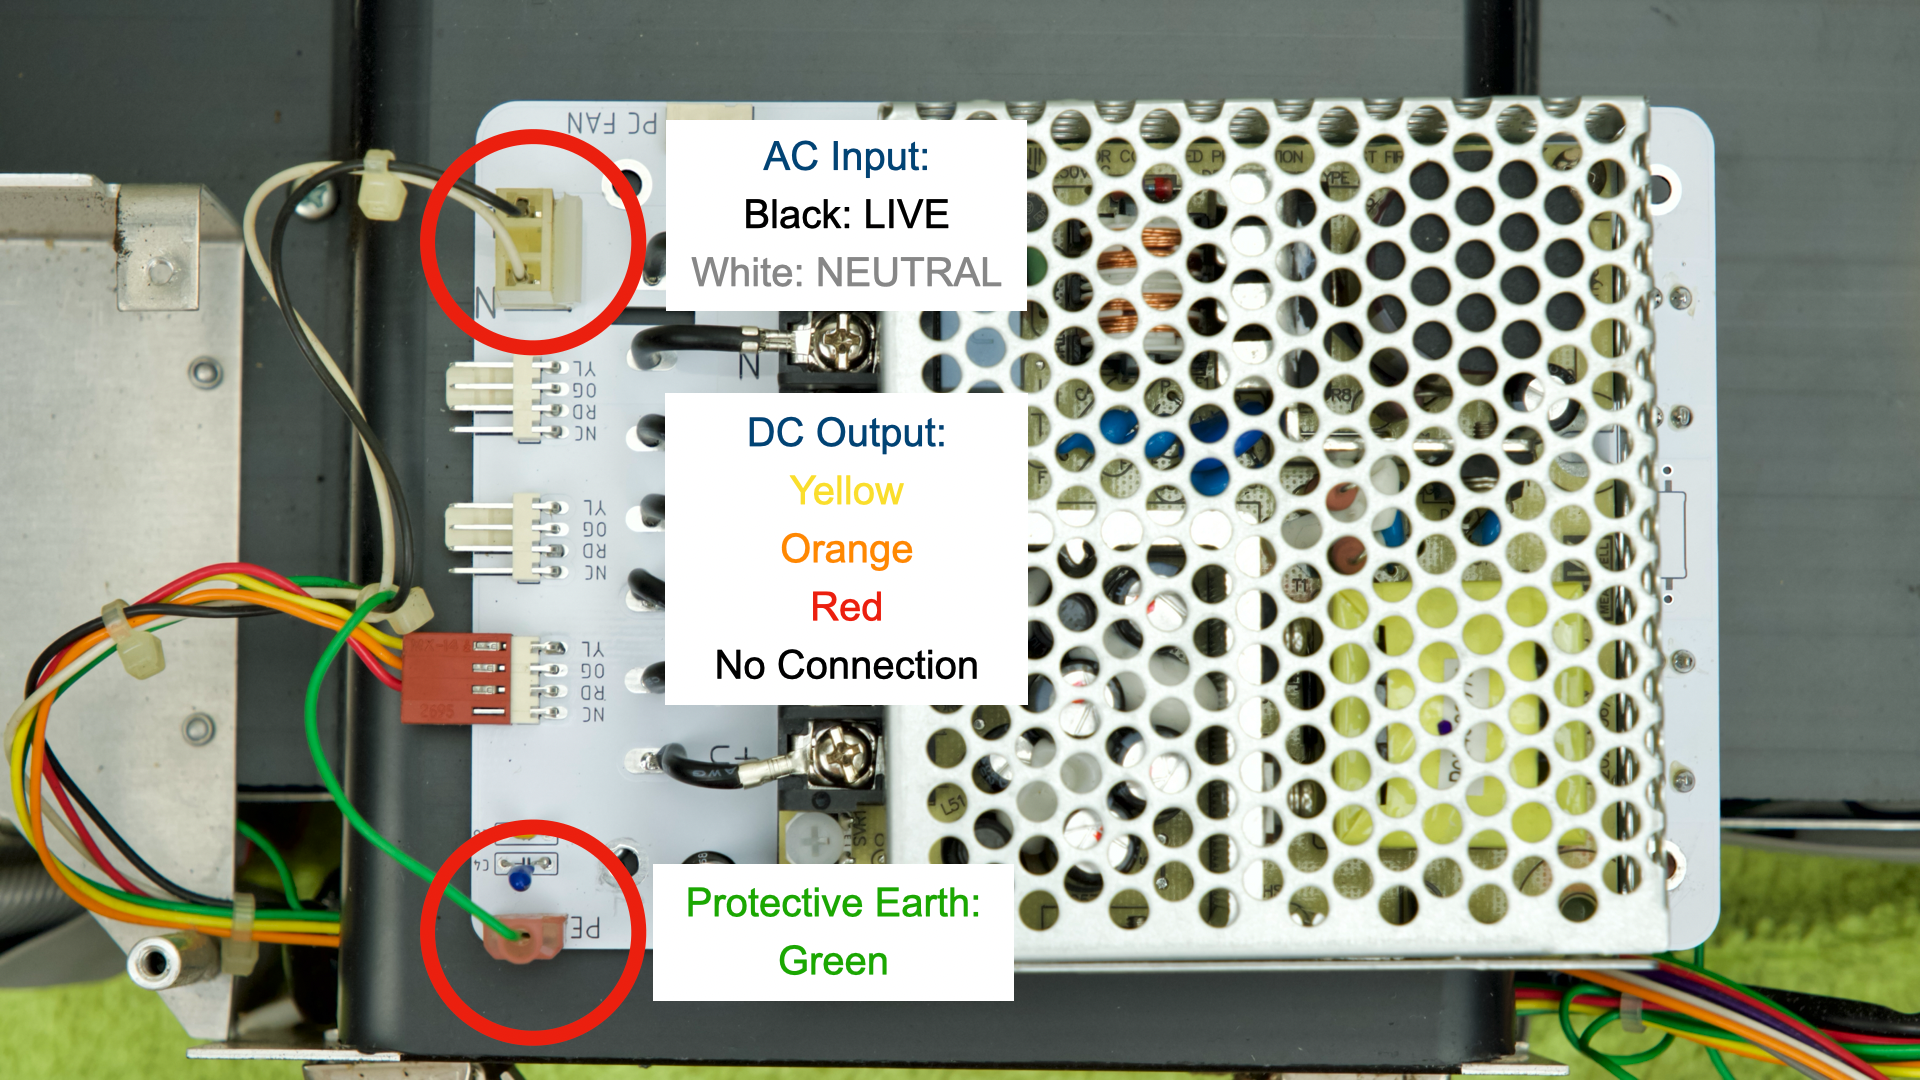
- Offer up new PCB
- Plug in AC connector
- Black / Brown: Live
- White / Blue: Neutral
- Plug in Earthing Lug
- Green
- Plug in DC output connector
- Ensure COLOURS MATCH
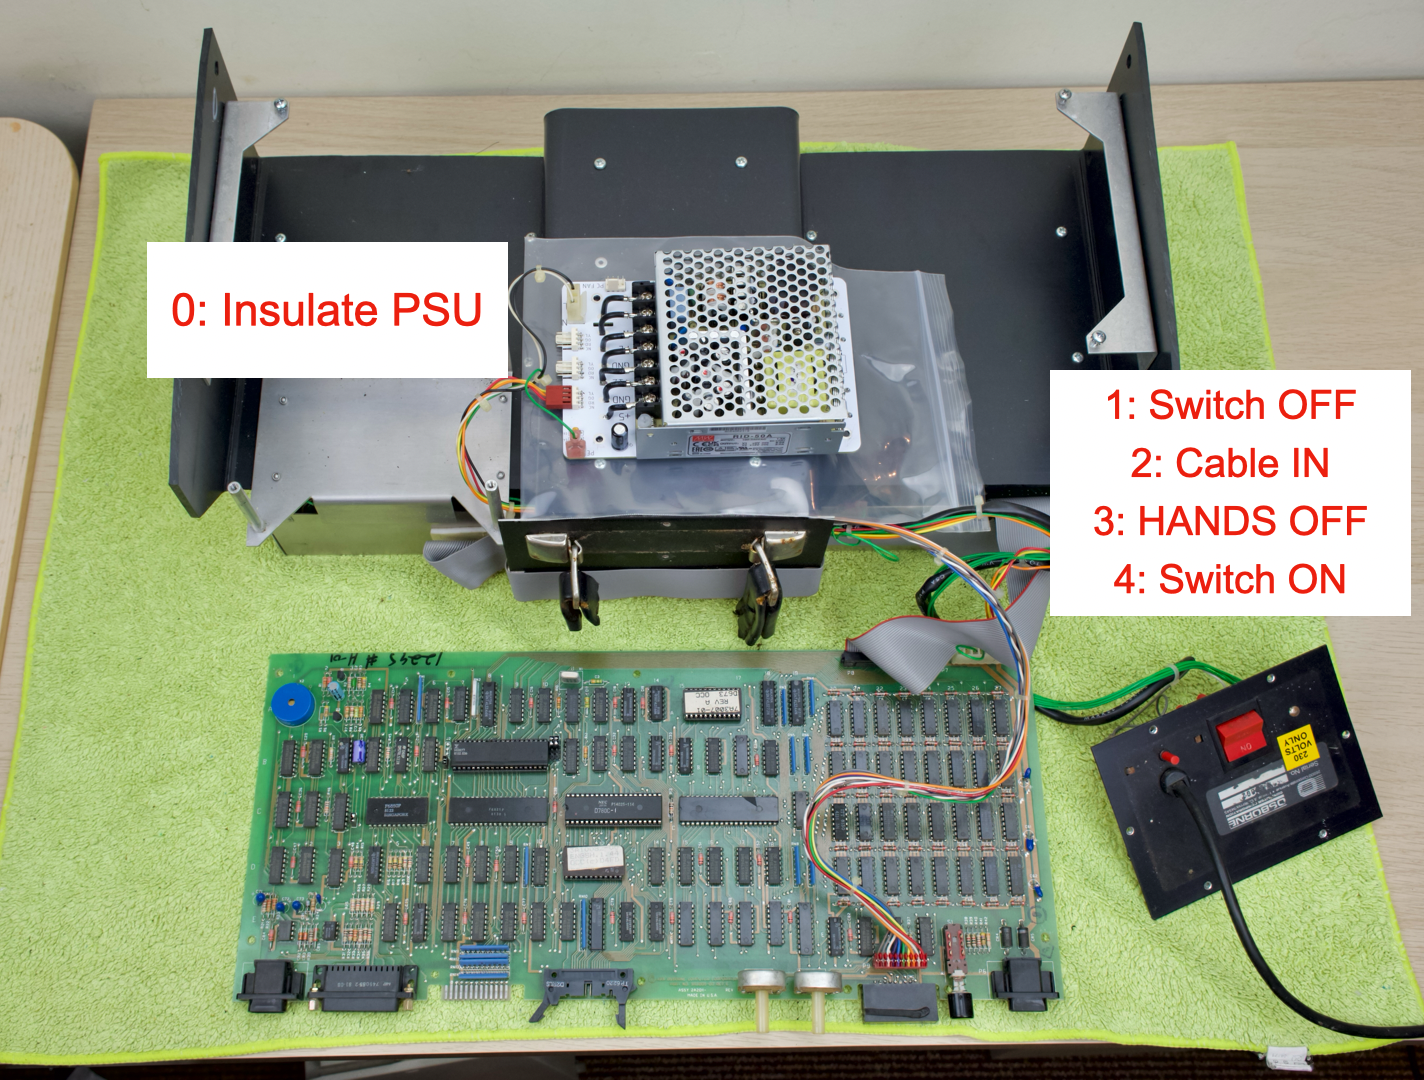
That’s pretty much it! Now we can have a quick test
- Rest PSU on insulator
- Cardboard, plastic, etc.
- Ensure power switch is OFF
- Plug in cable
- DON’T TOUCH ANYTHING ELSE
- Flip switch ON
Several things may happen:
- It beeps and just works
- Possible but rare
- It beeps but garbled screen
- Usually bad RAM
- Nothing happens
- Measure voltage at fuse holder
- Stable voltage
- Turn up brightness / contrast
- Still nothing? Fault on MB (likely RAM) / CRT board.
- No voltage / Voltage jumping around
- Dead short somewhere, PSU in protection mode.
- Most likely tantalum cap on +12V / -12V
- ⚠️TURN OFF AND UNPLUG⚠️ before start working on the computer!
Even if works, might as well do a little maintenance while you’re in there!
- Clean / lube floppy
- Blow out dust
- Inspect CRT board for cold solder joints, etc
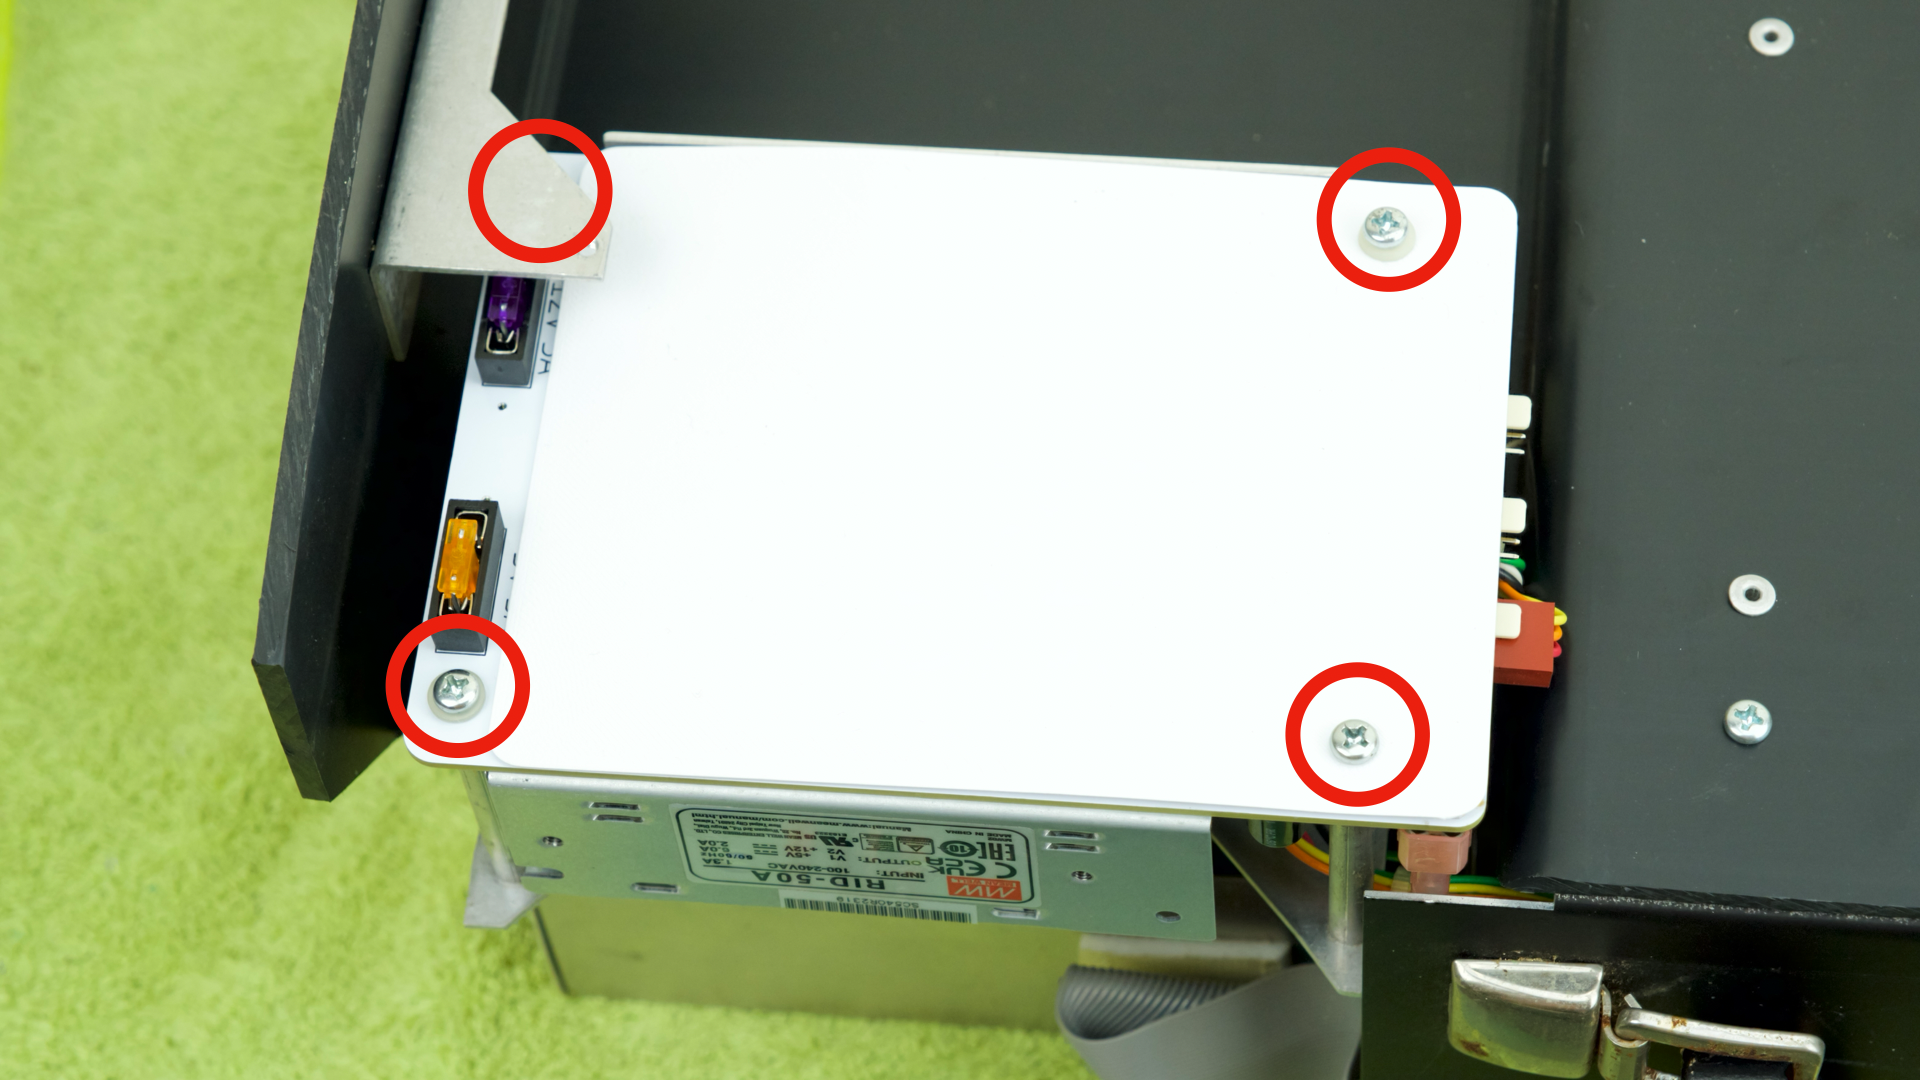
Once happy, re-install the new PSU.
- Secure the insulation sheet with the rightmost screws
Reassemble
- Follow the instructions in reverse to reassemble
Congratulations!
Hopefully with the new PSU and maintenance, your Osborne 1 is now fully functional, enjoy!
Questions or Comments?
Feel free to ask in official Discord Chatroom, raise a Github issue, or email dekunukem gmail.com!